Setting Up a Motorcycle Repair Shop: Essential Lifts, Tools, and Layout Tips
To set up a motorcycle repair shop properly, you need three things dialed in: a motorcycle-specific lift table rated for the heaviest bike you’ll service, a focused tool set built around fasteners and torque values bikes actually use, and a bay layout that gives each technician at least 2.5 × 3.5 meters of working space around the lift. Get those right and the rest — diagnostic scanners, tire equipment, parts storage — falls into place. Get them wrong and you’ll spend the first year fighting your own shop.
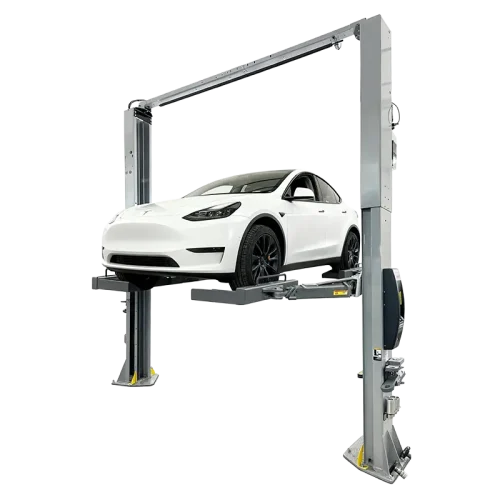
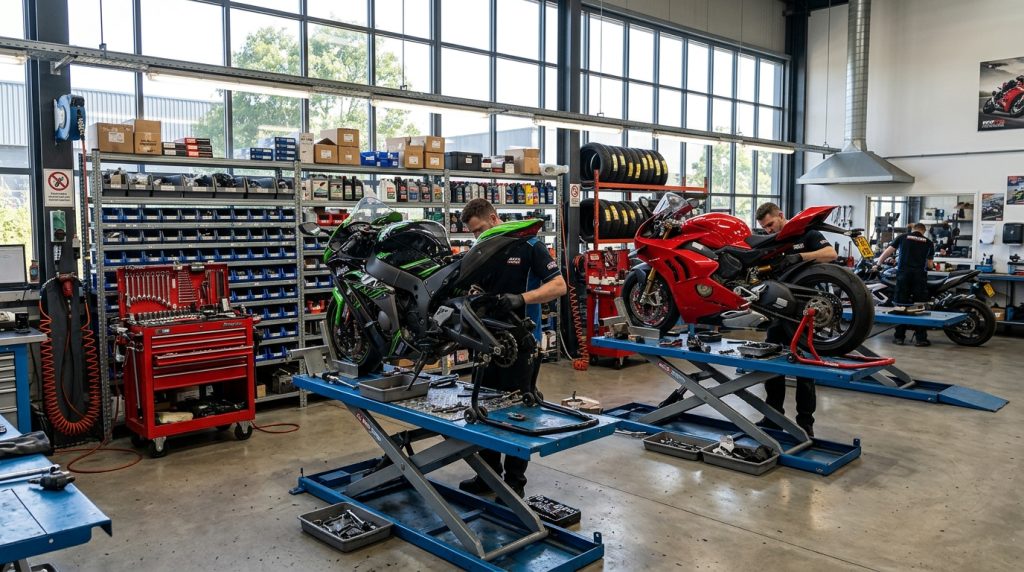
Start With the Lift — It Defines the Entire Bay
The lift is the single most important purchase in a motorcycle shop. Everything else — your work height, your access angles, even how you route air lines — is built around it. Choose wrong and you’ll be hunched over bikes for the next decade.
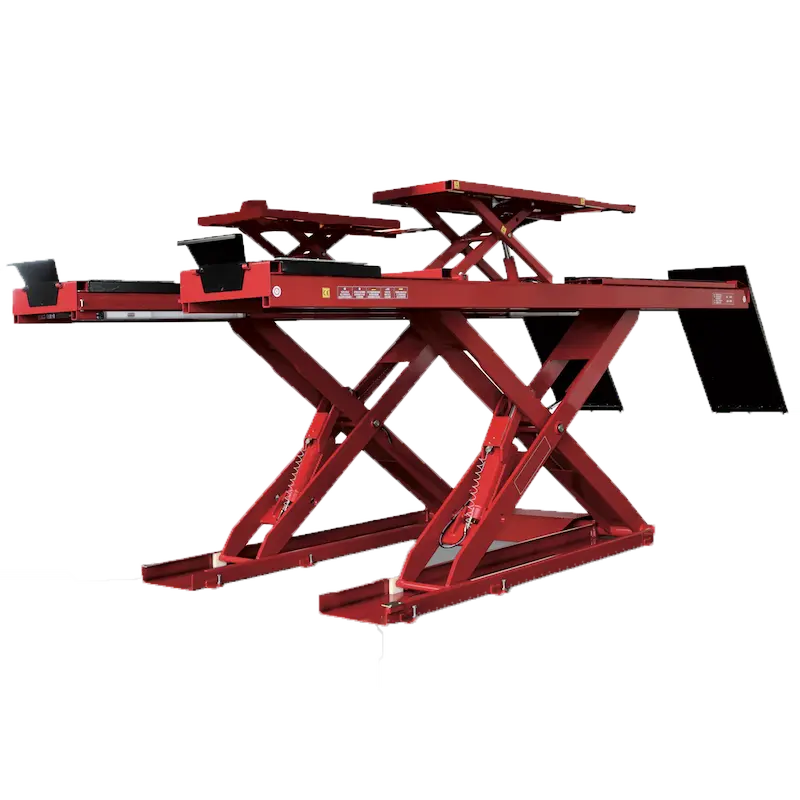
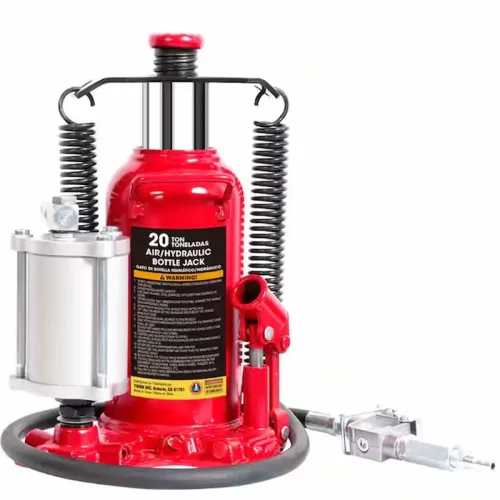
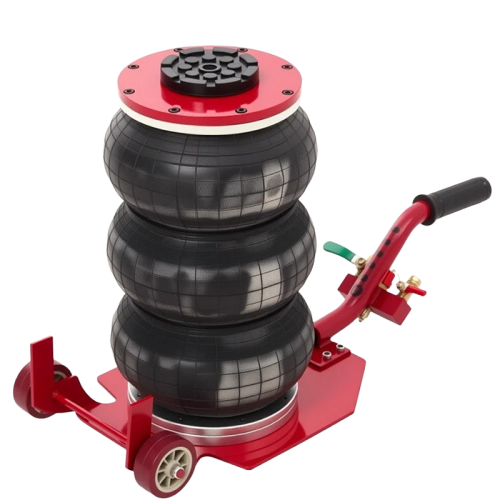
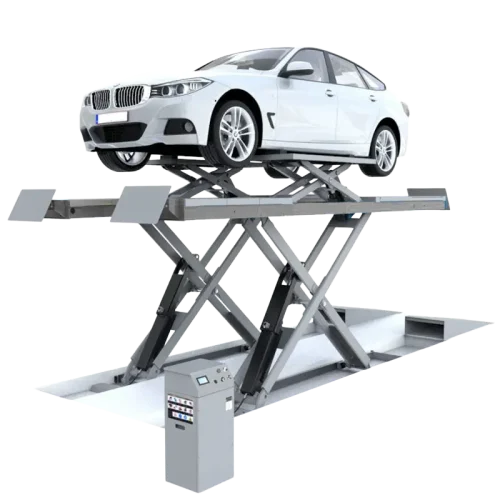
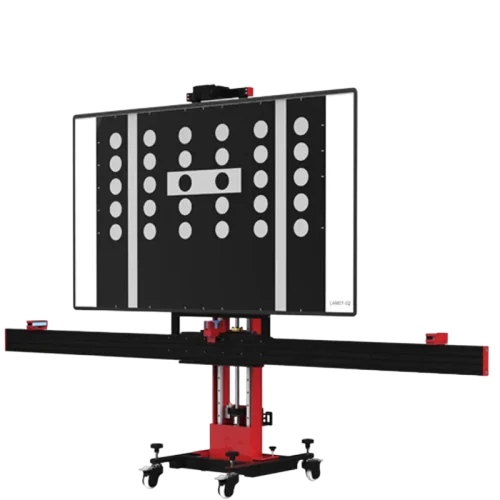
For a general-service motorcycle workshop, a hydraulic scissor lift table with a working surface of about 2,200 × 700 mm and a capacity of 450–680 kg covers the realistic range: sportbikes, cruisers, ADV bikes, and most touring models. If you plan to service Gold Wings, full-dress baggers, or trikes, jump up to a 900 kg air-operated table.
Three lift configurations worth comparing
Foot-pump hydraulic scissor lift — reliable, no electricity needed, ideal for shops with 1–2 bays.
Air-operated lift table — fastest cycle time, smooth lifting, requires a compressor capable of at least 8 bar at decent CFM.
Electric scissor lift — best when you handle high daily volume and want consistent lift speed.
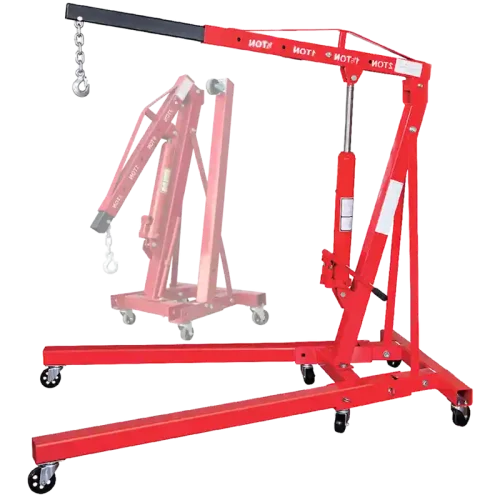
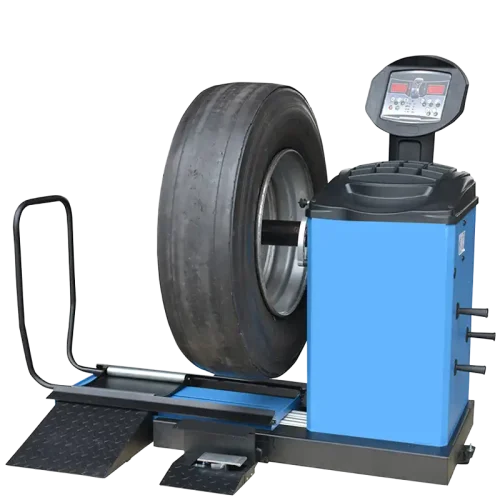
Whichever you pick, look for a front wheel vise that’s quick-release, an integrated drop-out panel for rear wheel service, and side extensions for tire work. These three features turn a basic lift into a real production tool.
Hydraulic motorcycle scissor lift table with front wheel vise and drop-out panel
Bay Sizing: The Numbers Most Shops Get Wrong
Most new shop owners undersize their bays. They look at a motorcycle on the showroom floor — narrow, compact — and assume 2 × 3 meters is plenty. It isn’t. A bike on a lift with side panels off, fork tubes pulled, and a parts trolley next to it eats space fast.
Plan each motorcycle service bay at minimum 2.5 m wide × 4 m deep, and ideally 3 × 4.5 m if your roll-up door allows. That gives clearance for the lift, a rolling tool cart on one side, and a parts catch tray on the other — plus enough room for a second technician to walk past without turning sideways.
Ceiling height matters too. You want at least 3 meters of clear height because some lifts raise the bike’s seat to 1.4 m, and tall ADV bikes already stand 1.5 m at the bars. Add a mirror sticking up and you’re flirting with a low ceiling light.
For overall floor planning principles that scale from motorcycle to car bays, our professional automotive workshop layout guide covers traffic flow, parts staging, and customer-facing zones in more detail.
Top-down diagram of motorcycle workshop bay layout with dimensions
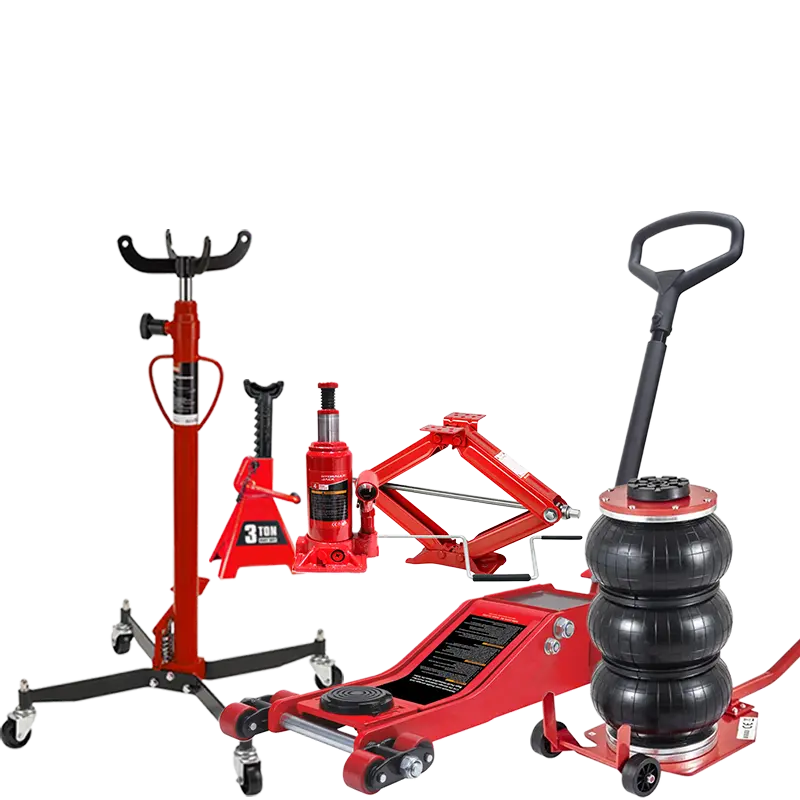
Hand Tools and Specialty Bits That Actually Matter for Bikes
A car mechanic’s tool chest will not cut it. Motorcycles use a different mix of fasteners, smaller torque ranges, and specialty tools that simply don’t exist in the four-wheel world.
Core kit for every motorcycle bay
Metric sockets 8–32 mm in both shallow and deep, plus a quality 1/4″ drive set for fairing bolts.
Torque wrenches in three ranges — 2–20 Nm for engine covers and fairings, 20–100 Nm for general work, 70–350 Nm for axle nuts.
T-handle Allen keys 3–10 mm — far faster than L-keys for the dozens of cap screws on a modern bike.
Impact driver with JIS bits — Japanese bikes use JIS, not Phillips. Confusing the two strips screws.
Tire irons and bead breakers sized for 17″–21″ wheels, plus a motorcycle-specific tire changer if you do volume.
Specialty tools worth budgeting for
Steering head bearing sockets, fork seal drivers, clutch holding tools, flywheel pullers, and a chain breaker/riveter. None of these are optional once you start handling drivetrain work. Buy quality — a cheap clutch holder that slips can mark a $2,000 basket.
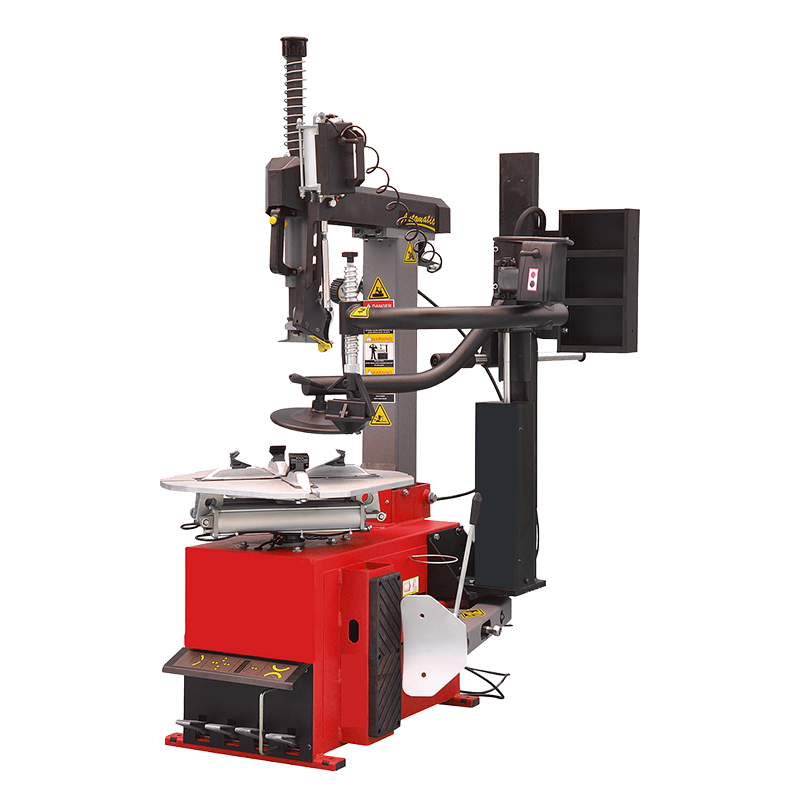
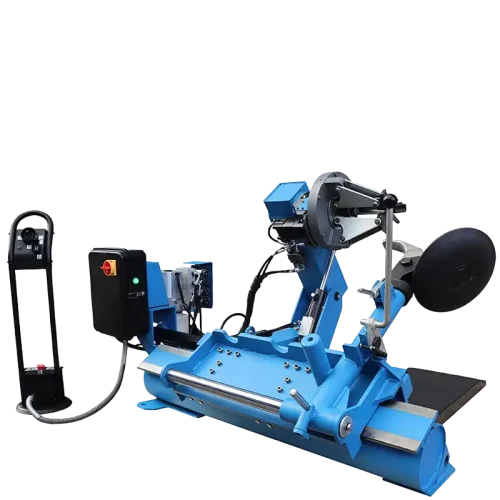
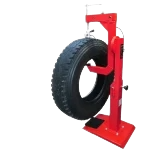
Tire Service Equipment for Motorcycle Wheels
If you plan to mount tires — and you should, it’s one of the most profitable services in a bike shop — you need equipment built for motorcycle wheels. A standard car tyre changer with the wrong clamping setup will scratch alloy rims and snap valve stems all day long.
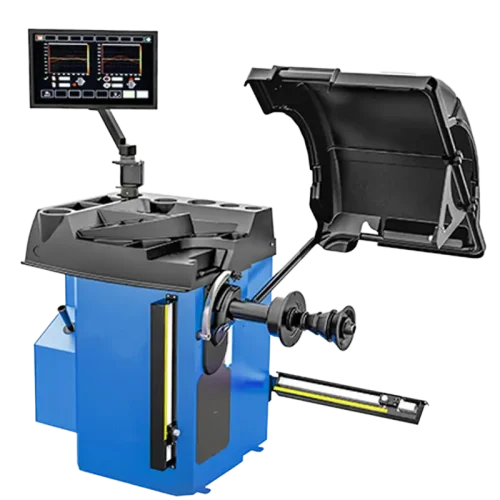
Look for a tire changer with a motorcycle adapter kit that clamps the rim from outside (without contacting the bead seat), and a bead-press helper arm rated for stiff sportbike sidewalls. For balancing, a manual static balancer is acceptable for low volume, but a dynamic motorcycle wheel balancer with a cone kit covering 12 mm to 28 mm axles will pay for itself within a season.
For example, a small ADV-focused shop in a tourist area might handle 8–12 tire changes per week during riding season. A combo of a motorcycle-capable tire changer plus a dynamic balancer at around mid-tier pricing typically pays back within 14–18 months at standard mount-and-balance rates.
Motorcycle tire changer mounting a sport bike wheel
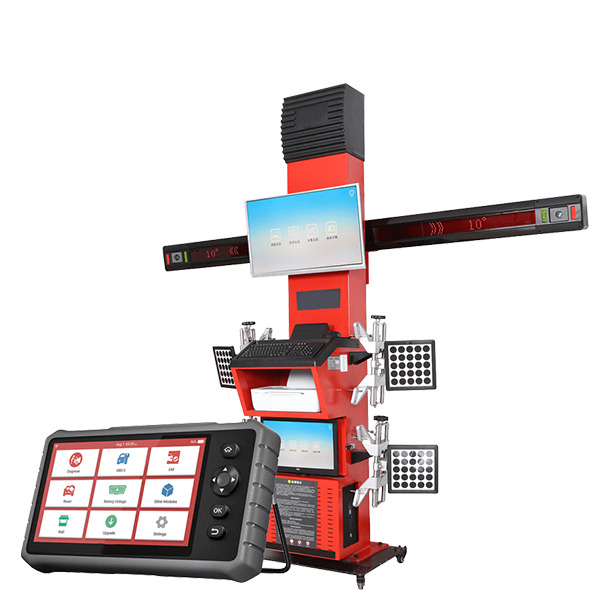
Diagnostics: What a Modern Motorcycle Shop Actually Needs
Bikes built after 2010 are computers on wheels. You need a scanner. The question is which one.
A generic OBD2 scanner will not work on most motorcycles — the bike industry uses different connectors and protocols (ISO 14230 KWP2000 on older bikes, ISO 15765 CAN on newer ones), with brand-specific connectors for Honda, Yamaha, Suzuki, BMW, Ducati, and Harley. Plan to buy either a dedicated motorcycle scanner with a multi-connector kit, or a professional-grade tool that covers both cars and bikes.
At minimum your scanner needs to read and clear fault codes, display live ECU data, perform throttle body sync, and reset service reminders. Mid-tier and professional units add ABS bleeding, immobilizer key coding, and bidirectional actuator tests.
For broader guidance on selecting the right diagnostic level, our article on choosing the right diagnostic scanner compares OBD2, professional, and heavy-duty systems with the same logic that applies to motorcycle diagnostics.
Beyond the scanner, keep a basic multimeter, an inductive timing light, a compression tester with motorcycle-thread adapters, and a vacuum gauge set for carb syncing on older bikes. Carburetor work isn’t dead — vintage and small-displacement service is a strong margin niche.
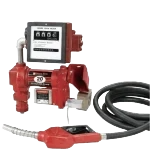
Lubrication, Fluids, and Consumables Station
Disorganized fluids cost more time than disorganized tools. Set up a dedicated lube station near — but not inside — your service bays.
For a motorcycle shop, you need separate dispensing for: 10W-40 and 10W-50 engine oil, gear oil (75W-90 and 80W-90), fork oil in 2.5W, 5W, 10W, and 15W weights, DOT 4 brake fluid, and coolant. That’s already eight to ten fluids before you count chain lube, contact cleaner, and shop solvent.
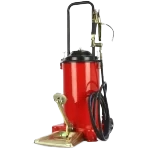
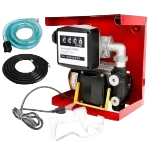
A wall-mounted oil dispensing system with metered guns saves measurable time. For grease — used on swingarm pivots, steering bearings, axle splines — a pneumatic grease pump beats hand-pumping every service. Our guide on choosing the right grease pump compares manual, air-operated, and electric systems for shops of different sizes.
Keep a labeled waste oil drum with a secondary containment tray under it. Local regulations on used oil disposal vary, but the inspector visiting your shop will check this in the first five minutes.
Organized lubrication station with wall-mounted oil dispensers
Safety Equipment That Isn’t Optional
Motorcycles fall. They fall on lifts, off lifts, while strapped down, and while you’re walking past them carrying a hot exhaust. A safe shop plans for this.
Non-negotiable safety gear
Heavy-duty ratchet straps — minimum two per lift, anchored to dedicated tie-down points on the table.
Front wheel chock integrated into the lift (not a loose floor chock).
Mechanical safety lock on every hydraulic lift — never trust hydraulic pressure alone for any work that puts hands under the bike.
Class B/C fire extinguisher within 6 meters of every bay.
Eye wash station if you handle brake fluid or battery acid routinely.
Run a monthly inspection routine on every lift — checking hydraulic seals, lock pawls, hose fittings, and structural welds. The hydraulic lift safety inspection routine guide covers a checklist that translates directly to motorcycle scissor lifts.
One real-world example: a small shop we spoke with had a Yamaha FJR1300 slip sideways off a poorly-strapped table mid-service. No injuries, but the bike’s plastics and tank cost the shop over $3,800 in customer compensation. A $40 strap and 30 seconds of habit would have prevented all of it.
Workflow Layout: Customer In, Bike Out
The best motorcycle shops route bikes in one direction: customer drop-off zone → intake inspection bay → service bay → wash/QC area → pickup zone. No backtracking, no crossing paths with incoming bikes.
Practical layout rules that actually work:
Place the service writer’s desk within sight of both the customer entrance and the service bays — so the writer can answer questions without leaving the desk.
Keep fast-moving parts (filters, brake pads, chains, sprockets, tires) within 6 meters of the bays. Slow movers can go in the back.
Put the tire changer and balancer in their own zone with floor space to roll wheels in and out — never inside a service bay where they’ll block lift access.
Ensure the main aisle from roll-up door to bays is at least 2 meters wide. Wheeling a bike sideways through a narrow shop is how mirrors get broken.
If you’re starting from a bare-bones shell, our new workshop equipment list for 2026 covers the broader equipment categories worth budgeting for in year one.
Floor plan layout of a two-bay motorcycle repair shop
Budget Planning: What a Realistic Two-Bay Shop Costs
Numbers, not guesses. For a two-bay motorcycle workshop starting from a leased empty space, here’s a realistic equipment-only budget range in 2026 USD:
Two motorcycle lift tables (mid-tier hydraulic/air): $2,400–$4,800
Diagnostic scanner (multi-brand bike coverage): $1,200–$3,500
Hand tools, torque wrenches, specialty tools: $4,000–$8,000
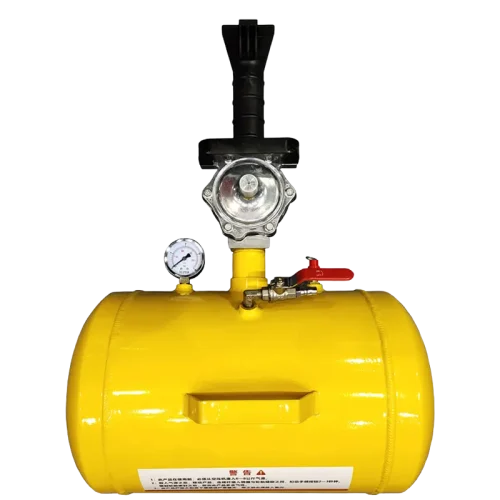
Air compressor (5–7.5 HP, 200–300 L tank): $1,200–$2,500
Lubrication and fluid handling: $800–$2,000
Workbenches, tool storage, parts shelving: $2,500–$5,000
Safety equipment, signage, first aid: $600–$1,200
Total: roughly $16,200 on the lean end to $34,000 on the well-equipped end, before rent, utilities, signage, and POS systems. Don’t try to save 20% by buying car-shop equipment and adapting it to bikes. The adapters never quite work and the time loss eats your margin.
Putting It All Together
A working motorcycle shop is not a smaller version of a car shop. It’s a different layout, different tools, and a different rhythm of work. Get the lift right first, size your bays generously, invest in motorcycle-specific tire and diagnostic equipment, and lay out the floor so bikes flow in one direction without backtracking. Do those four things and the rest is execution.
If you’re sourcing equipment for a new motorcycle workshop or upgrading an existing shop, browse our full workshop equipment catalog or contact the wsatools team for a tailored quote based on your bay count, vehicle mix, and daily service volume. We’ll help you build a kit that fits the work — not the other way around.
Yes, OEM and ODM services are available. We support logo printing, custom packaging, and
product design based on your needs.
What is your Minimum Order Quantity (MOQ)?
No MOQ for the regular products. However, customized branding or packaging may require a
minimum quantity. Please contact us for details based on the specific product.
Do you offer samples?
We offer samples for evaluation. While not free, sample fees can be refunded or deducted
once a formal order is placed.
Which ports do you ship from?
We can ship from major ports across China, including Shanghai, Shenzhen, Ningbo,
Qingdao, and more.
What terms of payment are acceptable
We accept EXW, FOB, CIF, and other standard international terms.
Can you supply products beyond your catalog?
Yes, we help source automotive tools and equipment based on your specific
requirements.