Wheel Balancer Accuracy: Why Your Tires Still Vibrate After Balancing
If a tire still vibrates after balancing, the wheel balancing machine is usually not lying — something else is going on. Nine times out of ten the cause is mounting error, an out-of-calibration machine, worn cones, a bent rim, or tire runout that no static-weight balance can fix. Below we break down every realistic cause and show you exactly how to diagnose and eliminate it.
Start Here: A Balanced Wheel Is Not Always a Smooth Wheel
Balancing only corrects weight distribution. It does nothing for tire shape, belt position, hub runout, or worn suspension. A wheel can read 0.00 g on the screen and still shake the steering wheel at 100 km/h.
Think of it this way: a perfectly balanced brick is still a brick. If the tire isn't round, or the wheel isn't centered on the machine, the readout is meaningless. Before blaming your balancer, separate the two questions — “is it balanced?” and “is it round and true?” They have completely different fixes.
Infographic comparing static dynamic and road force wheel balancing methods
Cause #1: Mounting Error on the Balancer Shaft
This is the single most common reason for repeat vibration complaints. If the wheel isn't centered on the balancer shaft within 0.1 mm, you're balancing a wheel that doesn't exist — and when the customer bolts it back on the hub, the imbalance reappears in a different location.
What goes wrong
Wrong cone for the rim's center bore (using a cone that's too small lets the wheel sit off-axis)
Dirt, grease, or rust on the cone or shaft
Worn or pitted cones — replace them annually in high-volume shops
Not using a hub-centric flange plate on high-offset or lug-centric wheels
For instance, a tire shop chasing a persistent BMW vibration complaint discovered the tech was using a 36 mm cone on a 57 mm hub-centric wheel. A flange-plate adapter fixed every “defective tire” complaint that month.
Wheel balancer cones and hub-centric flange adapter on a workbench
Cause #2: Calibration Drift You Can't See
Wheel balancers go out of calibration. Not dramatically — just enough to read 5 grams when the truth is 25. Vibration that comes back after a week or two is a classic symptom.
How often should you calibrate?
Calibrate the wheel balancer according to the manufacturer’s recommended schedule and after extended periods of frequent use.
Immediately after the machine is moved, dropped, struck, or repositioned on an uneven floor.
Recalibrate when results become inconsistent between wheels with similar specifications.
Check calibration after replacing cones, shafts, sensors, or other measurement-related components.
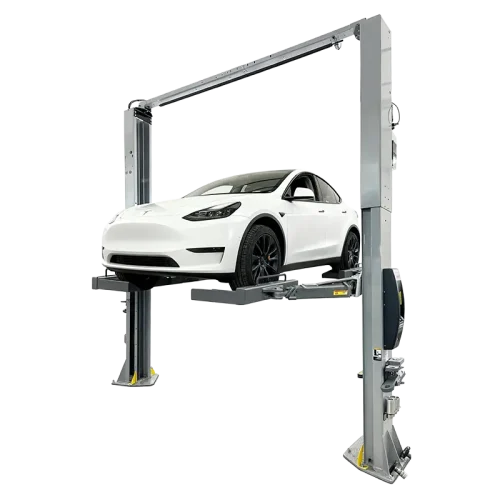
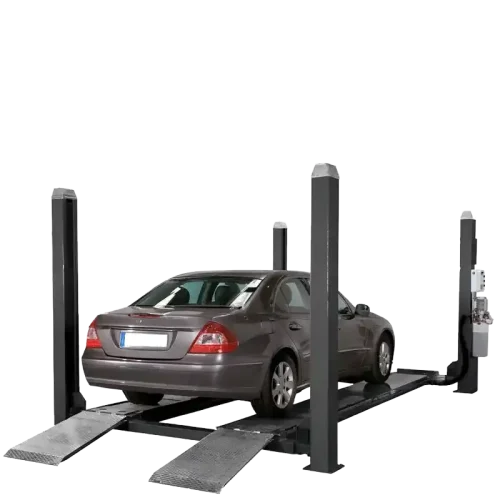
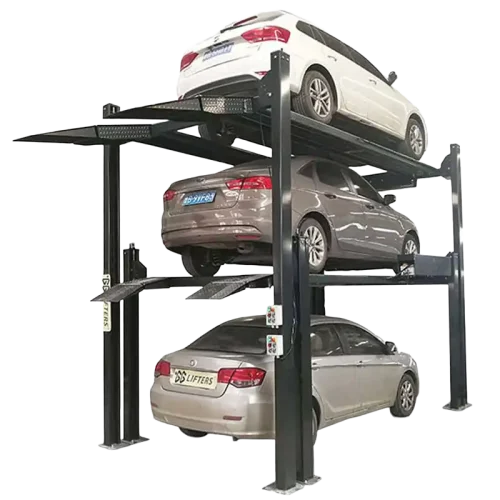
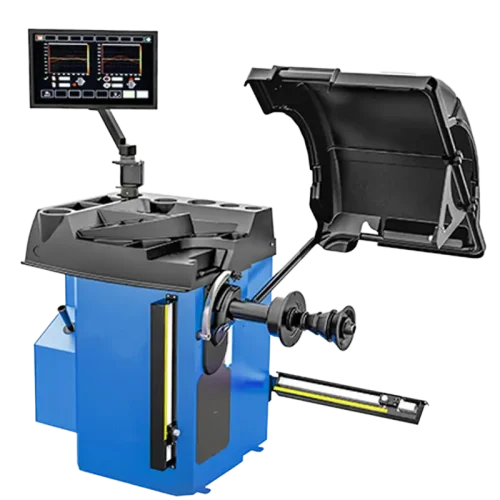
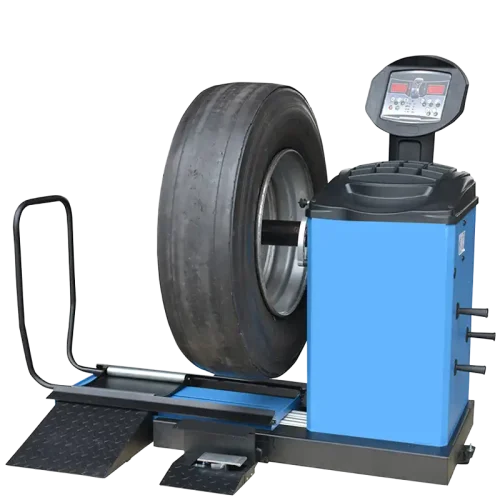
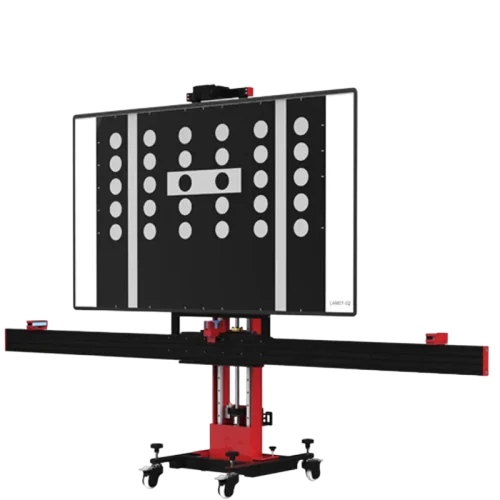
For available balancing ranges and workshop configurations, explore our car wheel balancers.
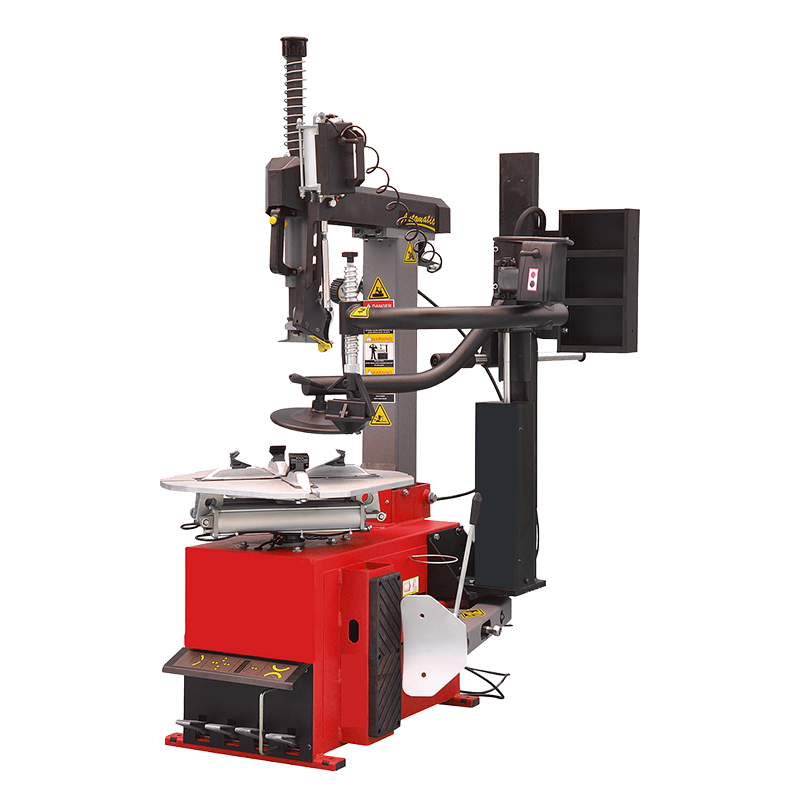
Self-calibration takes 5 minutes with the supplied calibration weight. Skipping it is one of the cheapest mistakes a workshop can make. If you're still selecting a machine, our tyre changer and wheel balancer package guide covers accuracy specs to look for.
Cause #3: Static vs Dynamic vs Road Force — Wrong Mode for the Job
Many techs default to whatever mode the machine boots up in. That's fine for everyday passenger cars, but it fails on certain wheel types.
When each mode matters
Static mode: only for narrow wheels — motorcycle, scooter, light trailer. Single-plane correction.
Dynamic mode: standard for cars, SUVs, and light trucks. Corrects both planes (inside and outside of the rim).
ALU / hidden weight modes: required for alloy rims where weights sit behind the spokes. Selecting the wrong ALU position throws results off by 10–20 g.
Road force / load simulation: needed when balancing is perfect but vibration persists. Applies 600+ kg of simulated load to detect stiff spots in the tire.
If the machine offers ALU-1, ALU-2, ALU-S, etc., make sure the tech actually measures where the weights will sit — not just selects whatever's quickest.
Cause #4: The Tire or Rim Itself Isn't Round
A balancer measures mass distribution. It cannot measure shape. If the tire has radial runout (out-of-round) or the rim is bent from a pothole hit, no weight on earth will smooth it out.
Quick checks before blaming the balancer
Spin the wheel slowly on the balancer shaft and watch the tread edge — visible wobble means runout
Check radial runout with a dial indicator: more than 0.8 mm on the tread, or 0.5 mm on the rim flange, will cause vibration
Inspect the bead seating — a tire that didn't seat evenly will read as imbalance every time it's remounted
A real example: a fleet workshop kept rebalancing the same delivery van tires every week. The cause turned out to be a flat-spotted tire from sitting parked over a long weekend. The flat spot wore out in 50 km of driving — but each rebalance was a wasted bay-hour.
Technician measuring tire radial runout with a dial indicator
Cause #5: Weights That Fall Off or Were Never Right
Stick-on weights are a frequent failure point. Cold rims, oily surfaces, or rushed application means weights peel off within days — and the customer is back complaining within a week.
Application rules that actually matter
Rim surface must be above 15 °C — never apply weights to a wheel that just came in from a cold yard
Clean the contact area with isopropyl alcohol, not brake cleaner (residue weakens the adhesive)
Press firmly for 10 full seconds — don't just tap and walk away
Match weight type to wheel: steel rims take clip-on, alloys typically take stick-on, but check the rim flange profile
Cheap zinc weights also corrode faster and shed mass over time. In coastal or salt-belt regions, switch to coated steel or Fe-weights for longer-lasting accuracy.
Workflow infographic for diagnosing wheel vibration after balancing
Cause #6: The Problem Isn't the Wheel — It's the Vehicle
When all four wheels balance perfectly and vibration still appears, look past the tire. The wheel is just the messenger.
Common vehicle-side causes
Worn wheel bearings — even slight play causes high-speed vibration
Bent axle or hub flange (often from curb strikes)
Brake rotor runout or thickness variation — vibrates only under braking
Worn tie rod ends, ball joints, or control arm bushings
Driveshaft imbalance on RWD/AWD vehicles, usually felt at specific speed ranges
Wheel hub corrosion preventing the wheel from sitting flush against the hub face
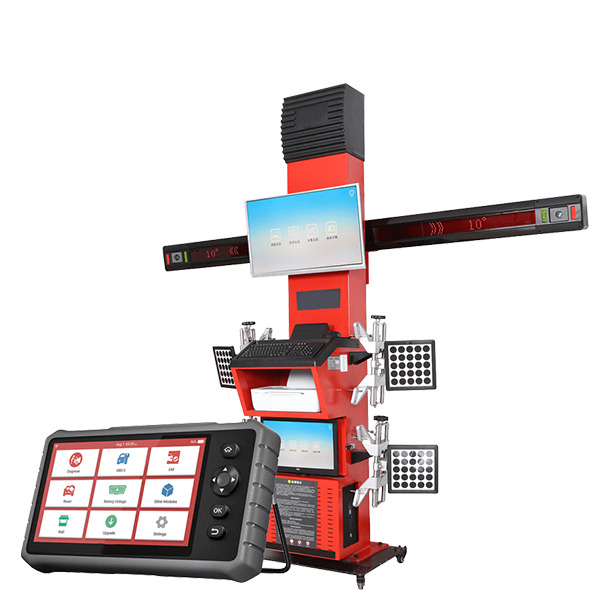
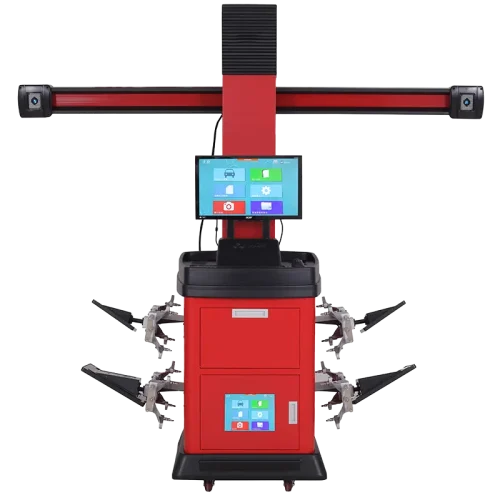
Always rotate front-to-rear as a diagnostic step. If the vibration moves with the wheel, it's a wheel/tire issue. If it stays in the same corner, it's the vehicle. For shops doing this kind of diagnostic work regularly, pairing balancing with proper wheel alignment equipment closes the loop on most vibration complaints.
Cause #7: Operator Habits That Quietly Kill Accuracy
Even a perfect balancer can produce bad results in careless hands. These are the habits we see most often in shops that struggle with repeat customers.
Entering rim data by eye instead of using the measuring arm — a 0.5-inch error in diameter changes correction values noticeably
Not removing old weights before re-balancing — the new weights are calculated on top of the old, but the readout shows residual error
Spinning at low RPM only — some machines need a full-speed cycle to detect coupling imbalance
Skipping the verification spin after applying weights — without it, you don't know if the fix worked
Mixing weight materials on the same wheel — lead and steel have different mass per millimeter, throwing precision off
A 90-second verification spin is the single best habit a tech can build. It catches errors before the customer leaves the bay.
How to Diagnose Residual Vibration: A 5-Minute Workflow
When a customer returns with a vibration complaint after balancing, work through this in order. It will isolate the cause faster than chasing symptoms.
Confirm speed and condition: vibration at 90–110 km/h is usually wheel-related; under braking is rotors; constant is driveshaft or bearing
Calibrate the balancer before retesting — rules out machine drift
Inspect the cone and shaft for damage or contamination
Remount the wheel 180° rotated on the shaft and rebalance — if numbers change significantly, you have a centering issue
Check rim and tire runout with a dial indicator
Swap front-to-rear and test drive — confirms whether the cause is the wheel or the vehicle
Most shops will solve 80% of comebacks within these six steps. The remaining 20% usually need road force balancing or component replacement.
Building a Workshop That Doesn't Get Vibration Comebacks
Solving vibration permanently is less about buying a more expensive balancer and more about disciplined process. The shops with the fewest comebacks share three habits: scheduled calibration, clean tooling, and a strict verification spin on every wheel.
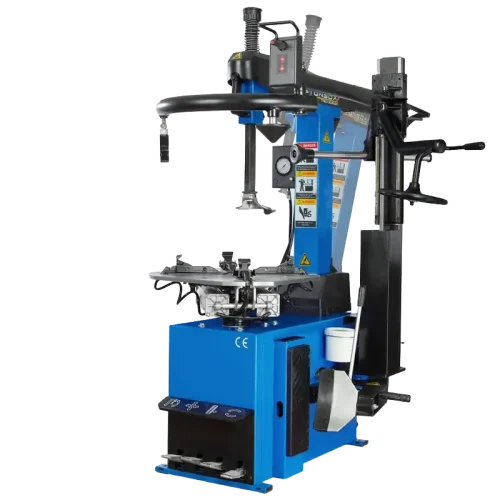
Equipment quality still matters — a balancer with ±1 g resolution, proper ALU modes, and a stiff shaft will outperform a budget unit over thousands of cycles. Pair that with a tire changer that doesn't damage rims during mounting, and you eliminate two of the biggest sources of residual imbalance at once. If you're planning a full bay setup, our workshop setup guide walks through equipment pairings in detail.
Need help selecting a balancer that matches your daily volume and vehicle mix? Browse the wheel service range in our catalog or contact the wsatools team for a workshop-specific recommendation.
Yes. We provide OEM and ODM services, including logo printing, custom colors, packaging design, and product specification adjustments. Available options depend on the product type and order quantity.
What is your minimum order quantity (MOQ)?
MOQ requirements vary by product. Most standard products are available in flexible quantities, while customized branding, packaging, or product development may require a minimum order. Contact us with the product model and required quantity for confirmation.
Do you offer samples?
Samples or trial orders are available for most product categories. Sample charges and refund terms depend on the selected product and will be confirmed before ordering.
Which ports do you ship from?
We can arrange shipment from major ports in China, including Shanghai, Ningbo, Shenzhen, and Qingdao. The final port will be selected according to the product location and shipping arrangement.
Which trade terms do you support?
We support EXW, FOB, CIF, and other standard international trade terms. The available option will be confirmed in your quotation based on the order and destination.
Can you supply products beyond your catalog?
Yes. If you cannot find the required automotive tool or workshop equipment in our catalog, send us your specifications, target quantity, and application. Our team can help identify and source a suitable solution.