Jack Stand Inspection Checklist: What to Check Before Every Shift
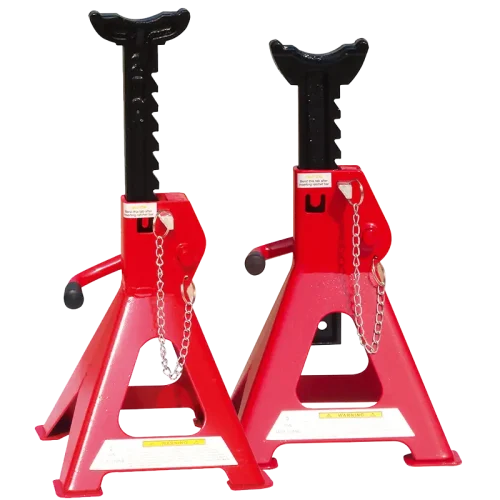
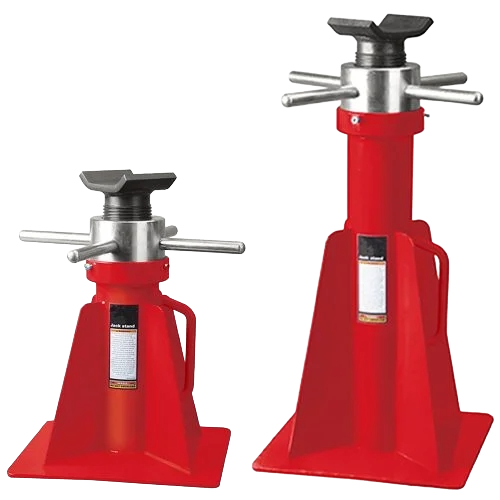
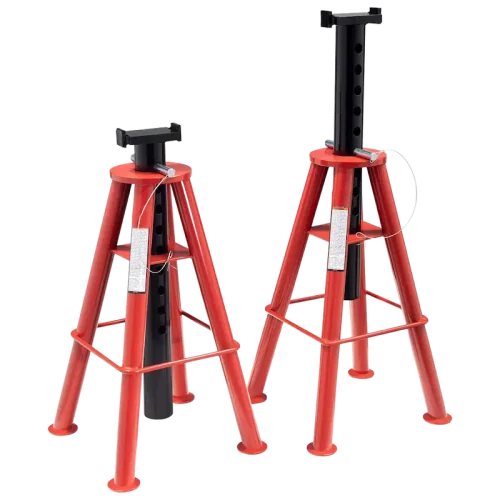
Before you set a single vehicle on jack stands, run through five checks: the welds, the ratchet teeth, the base legs, the pin and lock, and the load rating stamp. Any one of these failing is enough to drop a car on top of a mechanic — and it happens more often than shops want to admit. This checklist takes under five minutes per shift and should be treated as non-negotiable, not optional.
Why This Isn’t a One-Time Check
Here’s an uncomfortable truth: most jack stand failures don’t come from a defective product. They come from a good product that got quietly damaged weeks ago and nobody looked at it again. A stand dropped from a truck bed, one that got backed into by a forklift, one that sat under a leaking transmission — all of these can look perfectly normal from three feet away.
That’s why the checklist needs to happen every shift, not once a month. A stand that passed inspection on Monday can fail by Thursday if someone used it wrong or it took an impact you didn’t see. If your shop wants a deeper breakdown of what those capacity numbers actually mean under load, we covered that in jack stand safety ratings explained.
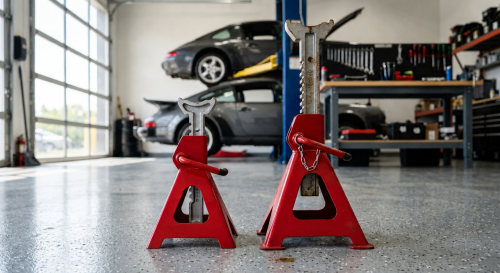
Close-up inspection of a jack stand base weld for cracks
Check 1: Welds and Frame Cracks
Start here because it’s the most catastrophic failure point. Every jack stand has weld joints where the legs meet the center column and where the saddle post attaches to the frame. Hairline cracks at these joints are the number one cause of sudden collapse — not slow bending, sudden collapse.
What to look for
Rust bleeding out of a weld seam (a sign the crack is already letting moisture in)
Any visible gap or separation at a joint
Discoloration suggesting the stand was exposed to heat (welding sparks, grinding nearby)
Run your thumb along every weld. If you feel a ridge or lip that wasn’t there before, pull that stand from service immediately. Don’t wait for a supervisor to sign off — tag it and set it aside.
Check 2: Ratchet Bar and Locking Pin
The ratchet bar is what actually holds the vehicle’s weight once the pin drops into place — and it’s also the part that wears out fastest because it takes friction every single use. Worn or rounded ratchet teeth mean the pin can slip under load, even if it looks seated.
For instance, a tire shop running 40+ vehicles a day through the same set of stands will chew through ratchet teeth in under a year if nobody’s rotating stock. The fix isn’t complicated: rotate stands in your inventory, and inspect the pin drop before every shift, not just when something feels off.
Quick pin test
Drop the pin without a load. It should fall freely and seat with a solid click — no dragging, no partial catch, no need to jiggle the ratchet bar to get it to sit right.
Jack stand ratchet bar and locking pin mechanism close-up
Check 3: Base Legs and Ground Contact
A stand is only as stable as its footprint. Bent legs, missing rubber feet, or a base that rocks on flat ground are all disqualifying issues — no exceptions. Even a slight bend in one leg concentrates load unevenly and increases tip-over risk, especially on stands supporting one corner of a vehicle rather than a full axle.
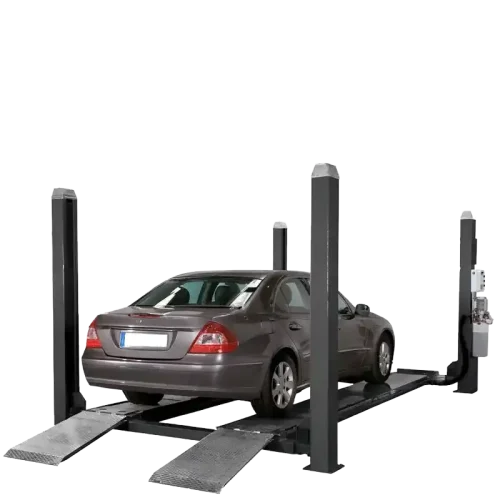
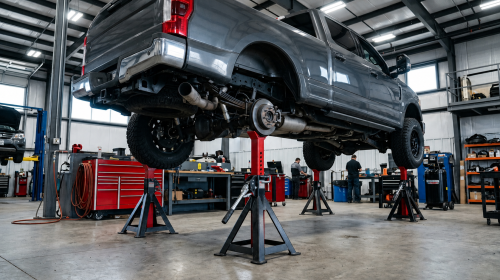
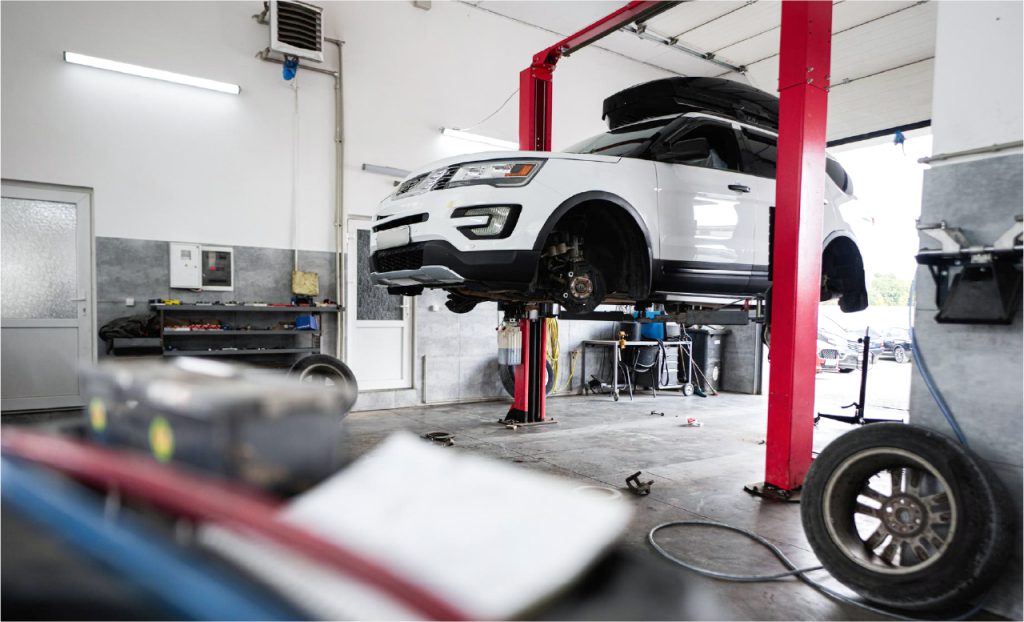
Set the stand on a flat section of shop floor and give it a firm push from the side. If it rocks instead of sitting flat on all contact points, it’s compromised. This matters even more in shops running mixed workflows — combining stands with a 2 post or 4 post lift setup, where stands are used as secondary support during suspension or brake work.
Check 4: Saddle Wear and Contact Surface
The saddle is where the stand actually touches the vehicle’s frame or pinch weld, and a worn saddle can let a car shift or slide off the support point mid-job. Rubber-capped saddles wear down and harden over time; steel saddles can develop grooves from repeated contact with sharp frame edges.
Look for cracking or hardening in rubber caps — if the rubber has gone brittle enough to flake, replace it. For steel saddles, run your hand across the surface. Deep grooves mean the contact point is no longer flat, and that translates to a less secure hold under load.
Worn jack stand saddle with rubber pad showing surface wear
Check 5: Load Rating Stamp and Legibility
If you can’t read the capacity stamp anymore, you shouldn’t be trusting the stand’s rating from memory. Paint overspray, rust, and years of shop grime can wear the stamp down until it’s guesswork. Mixing up a 3-ton stand with a 6-ton stand under a heavy truck is exactly how overload failures happen.
Color-code your stands by capacity with paint markers or tape bands so techs can identify rating at a glance, even from across the bay. If your shop is deciding between capacities for different vehicle types in the first place, our draft comparison on 3 ton vs 6 ton stands covers how to match rating to your actual fleet mix — but the short version is: always round up, never down.
Building the Check Into Shift Routine
A checklist that lives in a binder nobody reads doesn’t protect anyone. The shops that actually catch problems early treat this as a two-minute ritual tied to opening procedure, right alongside checking the compressor and walking the bay for tripping hazards.
A practical routine
Assign one tech per shift to do a visual sweep of all stands in active rotation
Keep a simple pass/fail tag system — red tag means pulled from service, no debate
Log any pulled stand so a pattern of failures on the same unit gets flagged
This same discipline applies across your lifting equipment generally. If you haven’t formalized it yet, our guide on hydraulic lift safety inspection routines walks through how to build inspection habits that actually stick instead of getting skipped during busy weeks.
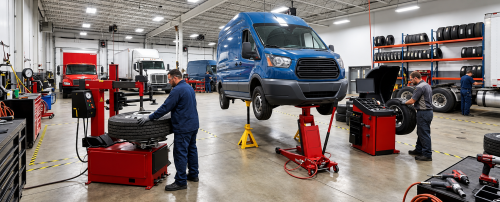
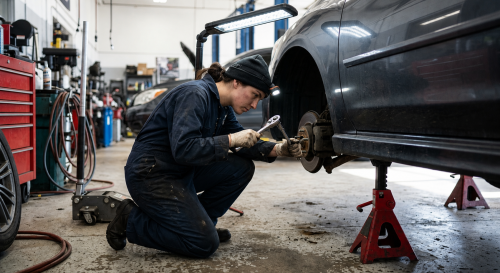
Technician performing a pre-shift safety check on jack stands in a workshop
When to Retire a Jack Stand Completely
Not every issue is fixable, and shops lose money trying to keep marginal stands in rotation. Retire a stand immediately if you see: any weld crack, a bent or cracked leg, a ratchet bar that skips more than one tooth when dropped, or a saddle that’s lost structural integrity — not just cosmetic wear.
Don’t try to weld-repair a cracked frame yourself. The heat from field welding changes the metal’s temper in ways that aren’t visible, and you have no way to verify the repair holds rated capacity again. Replacement is cheaper than a lawsuit or a lost employee.
Yes. We provide OEM and ODM services, including logo printing, custom colors, packaging design, and product specification adjustments. Available options depend on the product type and order quantity.
What is your minimum order quantity (MOQ)?
MOQ requirements vary by product. Most standard products are available in flexible quantities, while customized branding, packaging, or product development may require a minimum order. Contact us with the product model and required quantity for confirmation.
Do you offer samples?
Samples or trial orders are available for most product categories. Sample charges and refund terms depend on the selected product and will be confirmed before ordering.
Which ports do you ship from?
We can arrange shipment from major ports in China, including Shanghai, Ningbo, Shenzhen, and Qingdao. The final port will be selected according to the product location and shipping arrangement.
Which trade terms do you support?
We support EXW, FOB, CIF, and other standard international trade terms. The available option will be confirmed in your quotation based on the order and destination.
Can you supply products beyond your catalog?
Yes. If you cannot find the required automotive tool or workshop equipment in our catalog, send us your specifications, target quantity, and application. Our team can help identify and source a suitable solution.