How to Use Jack Stands Safely: A Step-by-Step Workshop Procedure
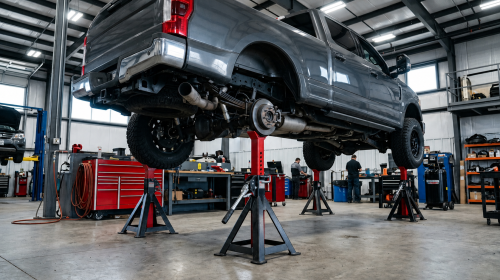
Using jack stands safely comes down to five non-negotiable steps: park on a flat hard surface, lift at the correct factory point, set stands at the matching rated lift points, lower the vehicle onto the stands (never the jack), and rock-test before working underneath. Skip any one of these and you’re gambling with a vehicle that can weigh 1,500 kg or more coming down on someone. Most shop accidents involving stands aren’t equipment failures — they’re procedure failures.
Why Jack Stand Accidents Keep Happening in Professional Shops
Here’s an uncomfortable truth: most jack stand incidents happen in shops that have been running for years, not in brand-new operations. Familiarity breeds shortcuts. A tech who’s set stands ten thousand times starts trusting muscle memory over the actual lift points, and that’s exactly when things go wrong.
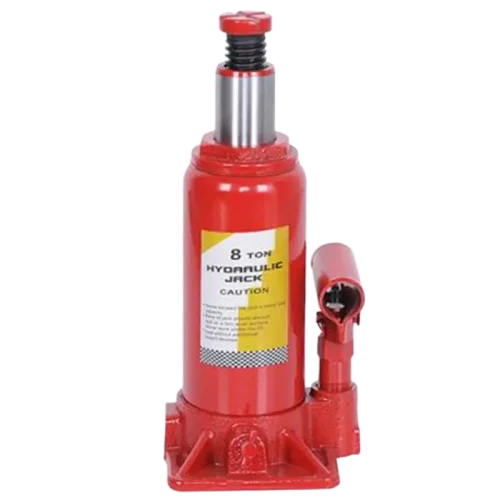
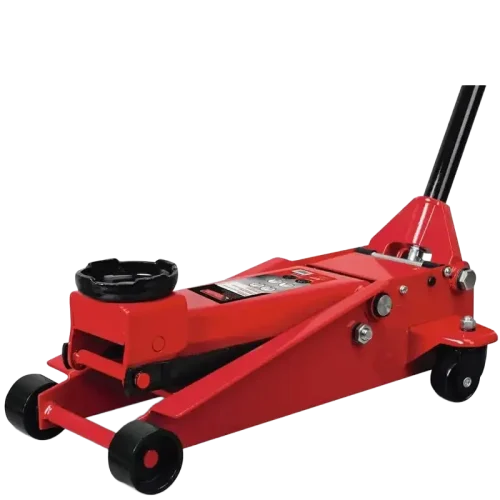
The common failure pattern looks like this: a hydraulic jack lifts the car, someone slides stands in at whatever spot looks convenient, and the jack gets removed before anyone checks whether the vehicle’s weight is actually resting on the stand’s contact pad or on a pinch weld that was never designed to carry it. A pinch weld can crumple under load, and once it deforms, the vehicle drops.
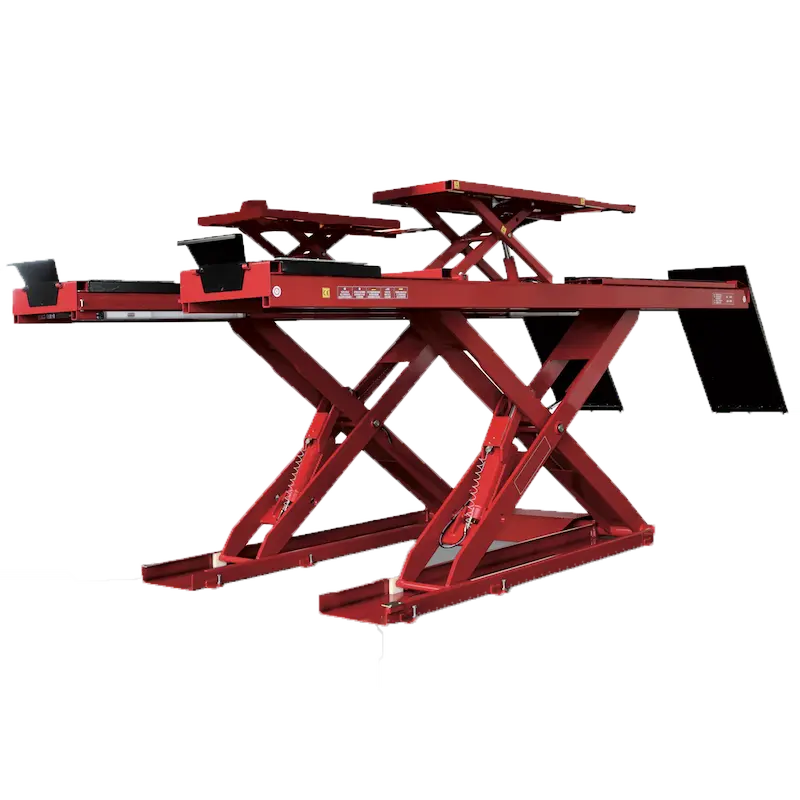
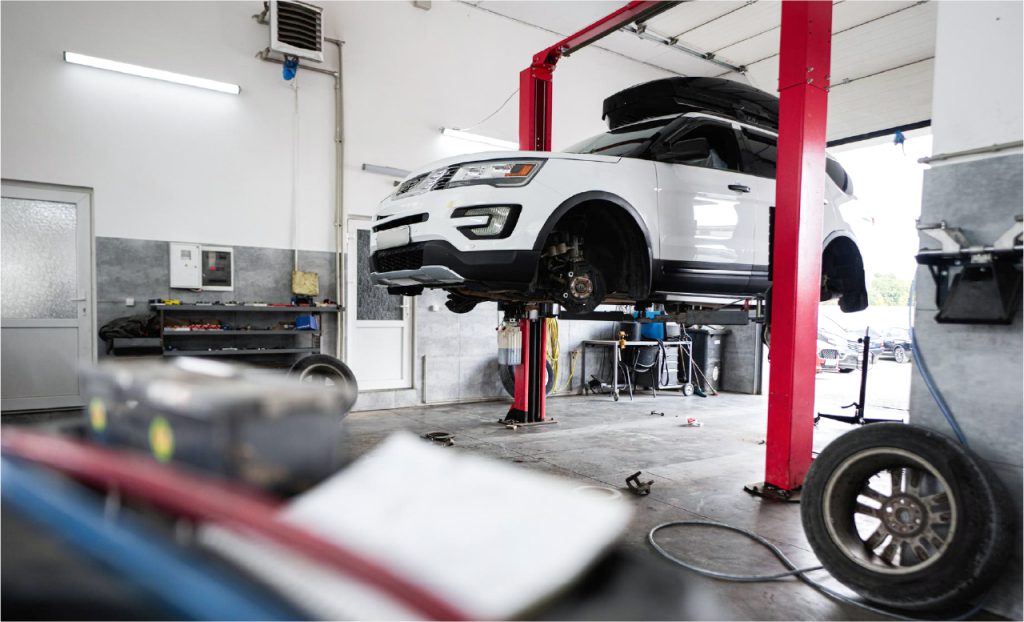
If your shop is scaling up and adding more lifting stations, it’s worth revisiting your hydraulic lift safety inspection routines alongside stand procedures — the same complacency that causes stand failures shows up in lift inspections too.
Step 1: Choose the Right Surface Before You Lift Anything
Concrete, level, and dry — that’s the checklist for where you position a vehicle before touching a jack. Sounds obvious, but plenty of roadside and mobile repair jobs get done on gravel shoulders or slightly sloped driveways, and that’s asking for trouble.
A slope of even 3-5 degrees changes the load distribution enough to shift a stand out of full contact with the lift point. In a fixed shop, this isn’t usually a problem, but it’s worth double-checking bay floors for settling cracks or uneven patch repairs, especially in older buildings. If your workshop floor has developed dips over the years, that’s a layout issue worth addressing — see our guide on workshop layout and space planning for how floor condition factors into equipment placement.
Step 2: Lift at the Correct Factory Point — Not Just Anywhere Under the Car
Every vehicle has designated lift points marked in the owner’s manual or stamped into the frame rail or pinch weld. Ignore them and you risk denting the floor pan, crushing exhaust components, or worse — having the jack slip mid-lift.
For unibody vehicles, the pinch welds along the rocker panels are the standard points. For body-on-frame trucks and SUVs, you’re usually looking at the frame rails themselves, which offer a much larger, stronger contact surface. Mixing these up — say, using a frame-rail approach on a unibody car — is one of the most common mistakes new techs make.
For instance, a quick-service shop handling a mix of sedans and pickups trained new hires to always locate the pinch weld notch first before positioning the jack saddle. That single habit cut their bent-floor-pan complaints to zero over the following year.
Technician aligning a hydraulic jack with a vehicle’s pinch weld lift point
Step 3: Set Stands at Matching Points and Check the Rated Height
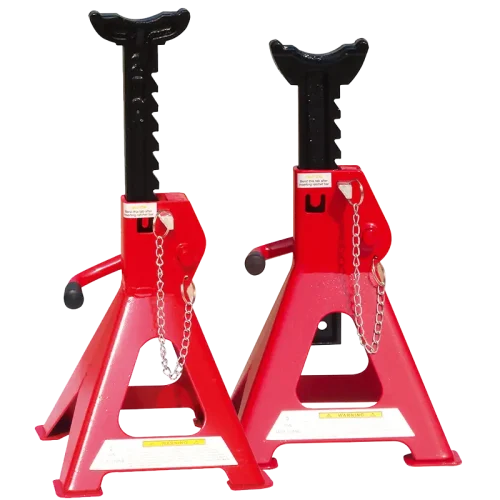
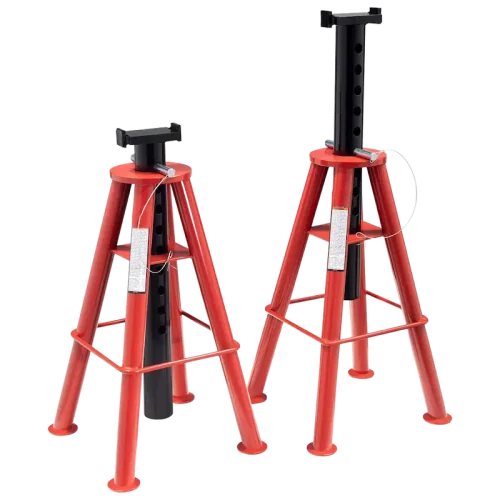
Once the vehicle is up, jack stands go under the same type of lift point — never on suspension arms, exhaust pipes, or plastic underbody panels. Set the stand height as low as possible while still clearing your work area; a lower stand is inherently more stable than one extended near its maximum.
This is also where capacity matters more than people think. A 3-ton stand rated for light passenger cars has no business supporting a loaded pickup axle. If you’re unsure which capacity fits your vehicle mix, our draft comparison on stand tonnage covers this in more depth, but the short version: match rated capacity to the heaviest axle weight you’ll ever lift, not the average car that rolls through your bay.
Always use stands in pairs at the same height and on the same axle unless you’re doing a specific single-corner job. Uneven stand heights create torque across the chassis that can cause shifting.
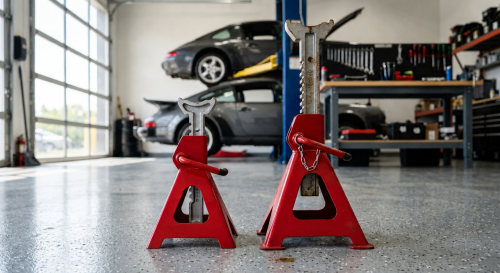
Two jack stands positioned symmetrically under a vehicle axle
Step 4: Lower Onto the Stands — Then Remove the Jack Completely
This is the step people rush, and it’s the one that matters most. Slowly release the jack until the vehicle’s full weight settles onto the stand pads. You should feel and hear the suspension load transfer — a soft thud, slight compression. That’s normal.
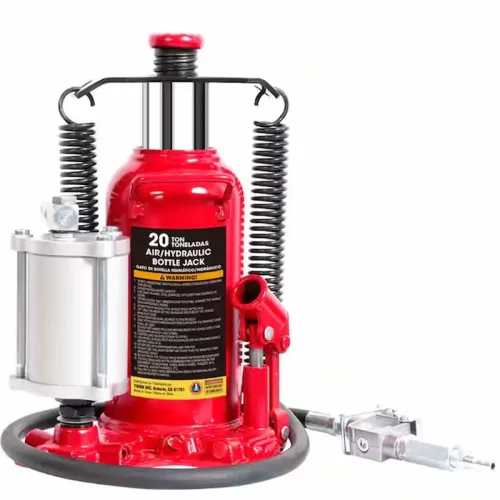
Then remove the jack entirely from under the vehicle. Don’t leave it in place as a backup — a jack under load with the release valve closed can still creep or fail slowly over time, especially with a worn seal. The stands should be the only thing holding the vehicle. If you also use hydraulic jacks regularly across multiple bays, it’s worth reviewing seal and fluid maintenance separately from stand procedure, since jack failure and stand failure are two different risk categories entirely.
Step 5: Rock-Test the Vehicle Before Anyone Gets Underneath
Grab the bumper and rock the car — front, back, side to side. If it wobbles or shifts noticeably on the stands, stop. Something’s not seated right, whether that’s a stand on an uneven point or a saddle that didn’t fully engage the lift point.
This ten-second check catches more problems than any visual inspection. A stand can look perfectly positioned and still not be carrying weight correctly if the vehicle’s frame flexed slightly during lowering. Rock-testing exposes that immediately, before it becomes a hazard with someone’s head under the engine bay.
Shops running high volume — quick oil changes, tire rotations, inspections — sometimes skip this because of time pressure. Don’t. It costs seconds and prevents the kind of incident that shuts down a bay and triggers an insurance claim.
Mechanic rock-testing a vehicle resting on jack stands for stability
Common Mistakes That Undermine Even Good Stands
A properly rated stand is only as safe as the habits around it. Here are the recurring mistakes that show up across shops of every size:
Stacking stands or using wood blocks to add height — this changes the load angle and defeats the stand’s designed stability.
Working on only one side while the other rests on a jack — a jack is not a static support device, period.
Ignoring corrosion or bent legs on older stands — a stand that’s been dropped or exposed to moisture for years may not hold its rated capacity anymore.
Using mismatched stand pairs — one 3-ton and one 6-ton stand under the same vehicle creates uneven load response.
If you’re unclear on what those tonnage numbers actually guarantee, it’s worth reading our breakdown of jack stand safety ratings — the label tells you more than most techs realize, including test conditions that affect real-world capacity.
Comparison of a corroded jack stand leg next to a new stand
How Stand Safety Fits Into Broader Workshop Equipment Planning
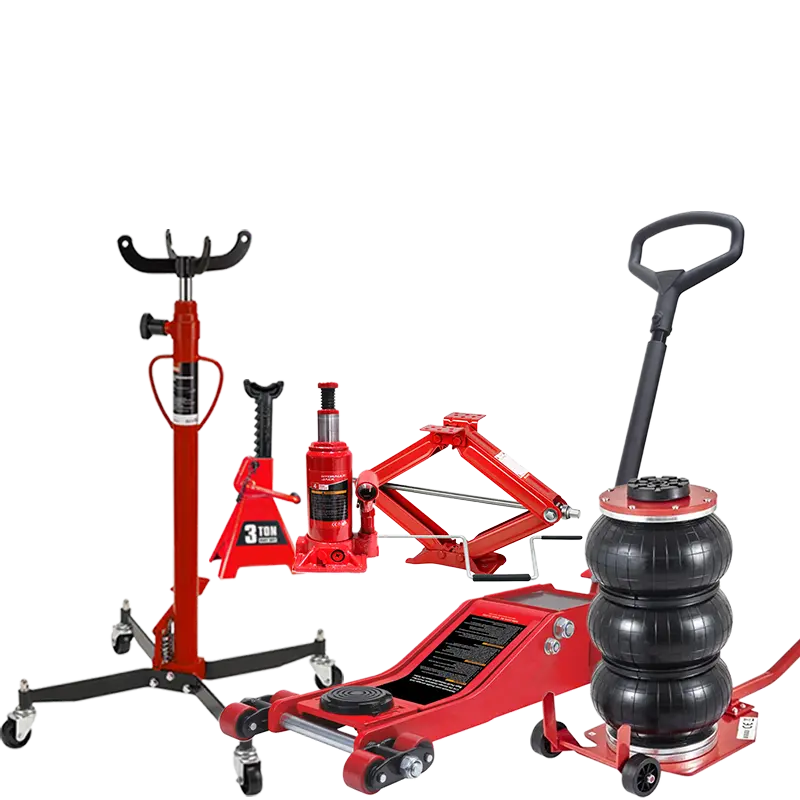
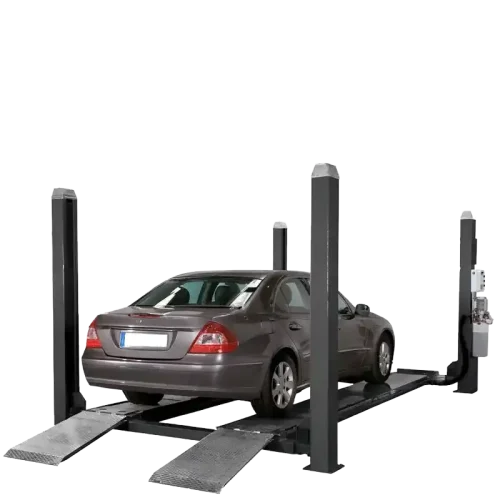
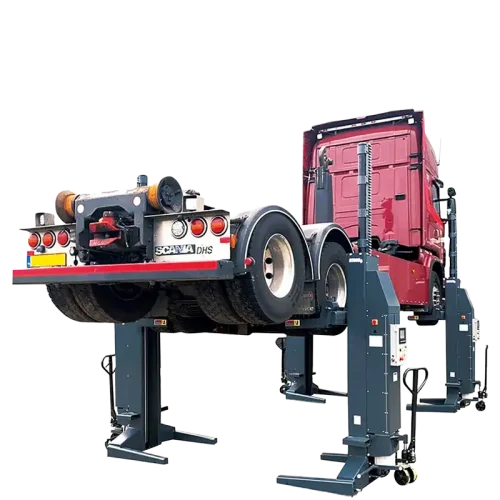
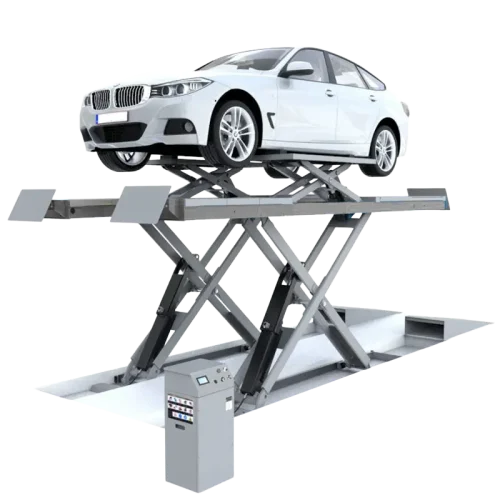
Jack stands don’t operate in isolation — they’re one piece of a lifting workflow that includes your floor jacks, your two-post or four-post lifts, and how your bays are laid out for safe vehicle movement. A shop with tight aisle spacing, for example, often ends up with stands set at awkward angles just to clear a neighboring vehicle, which defeats proper placement.
If you’re planning a new bay layout or reworking an existing one, think about stand clearance the same way you think about lift selection between 2-post and 4-post systems — space constraints affect both equally, and cramped positioning is a root cause of unsafe shortcuts.
Yes. We provide OEM and ODM services, including logo printing, custom colors, packaging design, and product specification adjustments. Available options depend on the product type and order quantity.
What is your minimum order quantity (MOQ)?
MOQ requirements vary by product. Most standard products are available in flexible quantities, while customized branding, packaging, or product development may require a minimum order. Contact us with the product model and required quantity for confirmation.
Do you offer samples?
Samples or trial orders are available for most product categories. Sample charges and refund terms depend on the selected product and will be confirmed before ordering.
Which ports do you ship from?
We can arrange shipment from major ports in China, including Shanghai, Ningbo, Shenzhen, and Qingdao. The final port will be selected according to the product location and shipping arrangement.
Which trade terms do you support?
We support EXW, FOB, CIF, and other standard international trade terms. The available option will be confirmed in your quotation based on the order and destination.
Can you supply products beyond your catalog?
Yes. If you cannot find the required automotive tool or workshop equipment in our catalog, send us your specifications, target quantity, and application. Our team can help identify and source a suitable solution.