Why Won’t a Tire Bead Seat? Common Causes and Solutions
A bead that will not seat is usually not a pressure problem. It is one of four things: not enough air volume at the moment of the burst, a dry or badly lubricated bead and flange, a rim whose measured width or bead seat diameter does not match the tire specification, or physical damage and clamping distortion. A tire that holds air but leaves a visible gap is unseated, not fixed, and it must not go back on the vehicle.
Key takeaways
A bead that holds air but sits visibly below the rim lip is unseated, not fixed, and that wheel does not go back on the vehicle.
Air volume in the burst matters more than the regulator setting. Core out, clip-on chuck, shortest large-bore hose, before you change anything else.
Measure rim width between the inner flange faces and compare it to the tire maker’s published range. No technique fixes a dimensional mismatch.
WD-40, penetrants and thin soapy water are not mounting lubricants. Use a bead lubricant that stays slippery through the burst and then dries non-tacky.
Reaching the tire maker’s maximum seating pressure without a seated bead is a stop signal, and starting fluid is never a workshop method.
Why a Tire Bead Will Not Seat: The Four-Cause Triage
Work the causes in this order. It runs from cheapest and fastest to slowest and most expensive, and each step rules out the ones behind it, so you are never guessing while a customer waits at the counter.
Air delivery. Not enough stored volume reaches the bead in the fraction of a second the burst lasts. Valve core, chuck bore, hose length and tank size all sit here.
Lubricant and rim prep. A dry bead, a dry flange, rust scale or old balance-weight adhesive adds friction the bead has to overcome as it travels up the flange.
Measured dimensions. Rim width or bead seat diameter falls outside the range the tire manufacturer publishes for that size.
Damage and clamping distortion. A bent, rolled or ovalised flange, a torn bead, or jaws closed on the wrong part of the wheel.
Define the failure precisely, because the wording matters when you explain it to a customer. The bead has not crossed the flange and locked against the bead seat. It can hold air perfectly well while sitting visibly below the lip. Pressure inside the tire proves only that rubber is touching something.
Adding more pressure fails for a mechanical reason. Pressure inflates the tire body and pushes the sidewall outward. If the bead has not crossed the flange, an open leak path remains along that arc, and the air you add escapes through it faster than it can lift anything. The gauge jumps, the leak path dumps the volume, and the bead does not move.
Watch for the repeatability signal. One wheel that will not seat is a wheel problem. A full set of the same wheel and tire package failing in the same place is a package or setup problem, and swapping tires will not solve it.
An unseated tire that leaves the bay is a comeback at best. At worst it is a sidewall failure at speed, with a driver who has no idea what was done to the wheel.
Air Volume vs Air Pressure: Why 60 PSI From an 80-Gallon Tank Still Fails
A seating burst lasts a fraction of a second. What matters is how much air arrives inside that window, not what the gauge read before the trigger was pulled. A regulator set to 60 psi tells you almost nothing about instantaneous flow.
Check three bottlenecks, in this order:
Valve core still in the stem. The single most common restriction in the shop, and the easiest to remove.
A restricting chuck or inflator bore. Standard inflator guns and locking chucks are built for inflating, not for delivering a burst.
A long or narrow hose run. Every extra metre of narrow bore costs volume at exactly the moment you need it.
Take a forum poster’s case as the teaching example. A 295/65R20 tire on a 20×10 wheel, fed 60 psi through a 10 ft hose running straight to an 80-gallon compressor with the valve core removed. That is close to the best a normal shop can deliver, and it still failed on that stiff 20-inch package. The bottom bead seated, the top bead left roughly a half-inch gap across from the valve stem over about a fifth of the circumference.
Why the gap sits in the same place every time. Air escapes through the largest unseated arc, so the section already touching the flange climbs first and is pushed tight against it. The loose arc never gets enough volume behind it to follow, and the result looks like a localised defect. It is a flow-path artifact, and it will reappear on the next identical wheel.
That also explains why a ratchet strap or a bead seater sometimes works and sometimes only masks the cause. The strap closes the leak path at the tread, and the seater injects a volume spike. Neither changes the reason the bead could not climb, so the next package with a stiffer sidewall fails again.
Test air delivery in under a minute before you blame the tire: core out, dry burst, watch whether the bead moves at all. No movement means the problem is upstream of the rubber.
Safety note on that test. With the core removed the tire fills far faster than most operators expect, so use a clip-on chuck, restrain the assembly, and keep hands out of the bead area.
Clip-on air chuck connected to a tire valve stem on a restrained wheel during a bead seating burst
Lubricant and Rim Prep: Why WD-40, Soapy Water and Dry Mounting All Fail
No, do not use WD-40 to seat a tire bead. Light petroleum solvents and penetrants soften rubber over time, and they leave a slippery residue that stops the bead gripping the seat once it has climbed. They are not formulated as mounting lubricants and they were never intended to sit between a tire and a rim for years.
Soapy water is the workshop default and still a poor one. A dish-soap mix leaves a hygroscopic film around the flange, which is a corrosion invitation on an alloy wheel. A thin water mix flashes off in the heat of a burst before a stiff sidewall has finished travelling, so the bead drags on dry rubber for the last part of its climb.
A proper bead lubricant does two jobs in sequence. It stays slippery long enough for the burst to complete, then dries to a non-tacky film so the bead locks to the seat instead of creeping under load later. That second half is the part the shortcuts never deliver.
Apply it thin and even on both bead seats and both flanges. Pouring it into the rim well feels generous and does nothing for the bead, which is the surface that has to slide.
Clean before you lubricate. Rust scale, old balance-weight adhesive and rubber crumbs from the previous tire all hold the bead off the seat, and lubricant over debris is lubricant over a spacer.
Two failure modes to know. Too little lubricant and the bead drags and stalls partway up. Too much and the tire spins on the rim during the burst, which quietly ruins the balance work and can shift the tire off the position the machine just indexed. Lubrication is the first thing to check on a bead that will not seat, ahead of the machine, the hose or the regulator: a film that flashes off early, or a flange still carrying rust and old adhesive, stalls a stiff sidewall on its own, and extra air volume does not fix it.
Read the Sidewall, Then Measure the Rim: Catching a Dimensional Mismatch
This is the cause no technique can fix, so prove or rule it out with a tape measure rather than another burst.
The sidewall tells you nominal section width, aspect ratio, construction and rim diameter. It does not tell you the permitted rim width range for that tire. That number comes from the tire manufacturer’s published specification, and you need it before you can call a package wrong.
Measure the rim instead of trusting the stamp. Width is measured between the inner faces of the flanges, not outside to outside, so a tape laid across the outer lips reads wider than the specification. On a dirty or repainted wheel, confirm the stamp matches the measurement before you order a replacement tire.
Bead seat diameter and flange profile have to match the tire bead as well. A mismatch typically shows as a bead that climbs partway and stalls, or seats cleanly on one side and refuses on the other no matter how much lubricant you use.
Low-profile and wide packages concentrate the problem. The sidewall is stiff and resists the deflection the burst relies on, there is less internal volume to work with, and the bead has further to travel to reach the flange. Add a wide rim and you have a package that needs everything right at once.
Work the 295/65R20 on a 20×10 example as the teaching case. The tire went onto a 20×10 wheel and every assembly in the set failed identically, which points at the package or the mounting setup rather than one defective tire. The troubleshooting in that thread never measured rim width against the tire’s published range, which is exactly the check that would have resolved it.
Decision point: if measured width or bead seat diameter falls outside the tire maker’s published range, stop. No lubricant, no seater blast and no clever technique is a legitimate fix for a dimensional mismatch.
Measuring wheel rim width between the inner flange faces with a tape measure on a workshop bench
Flange Damage and Clamping Distortion: When the Hardware Is the Problem
This check needs the assembly off the machine and a light, which is why most troubleshooters skip it and go back to blasting air.
Flange inspection: rust scale, dents, a rolled or bent lip, weld spatter, and jaw marks from previous machine work. Any of these holds the bead off the seat by a fraction that is enough to leak.
Bead inspection: a torn or stretched bead from an earlier dry mount, and a bead that is not sitting square against the rim on the side you are not working. The second one is easy to miss and looks like a seating fault on the visible side.
Out-of-round and badly straightened wheels: the flange no longer presents an even surface, so the bead can climb in one arc and stall in another. Straightening a bent wheel restores the shape on a gauge, not necessarily the bead seat.
Clamping distortion: jaws closed on the flange or on an already damaged area can ovalise the rim. Clamp on the specified clamping area at the correct height, and check the wheel sits flat on the table before the mounting head comes anywhere near it.
Machine-side checks: jaw position, mounting head pressure, and whether the bead breaker is fully breaking both beads before the mount starts. A half-broken bead drags into position and never seats.
Verdict rule: a damaged flange or a damaged bead puts that wheel or that tire out of service for this job. Document it and say so to the customer before anything else is tried, because every extra burst on damaged hardware is risk with no upside.
How to Get a Stubborn Tire Bead to Seat: The Ordered Procedure
This is the sequence to train on. It is written in the order that works, and every step includes the point where you stop rather than push harder.
Confirm the package first. Tire size against rim, measured rim width against the tire maker’s range, both flanges under a light. If anything fails here, stop and go to the customer.
Core out, clip-on chuck, shortest large-bore hose. Take every restrictor out of the air path before you touch the regulator.
Break both beads back down and clean both flanges. Wire brush or scraper, remove old adhesive, then lubricate both beads and both flanges evenly and thinly.
Press the bead into the drop centre on the side you are not seating. The sidewall needs somewhere to go, and the drop centre is the only place the rim gives it room.
Burst, do not trickle. Watch the bead rather than the gauge and stop the moment it starts to climb.
If it climbs partway, deflate fully before anything else. Re-lubricate and repeat. A partial climb rarely completes on a second burst unless the bead was dry or the flange was dirty, so fix one of those two first.
A bead seater or Cheetah closes the leak path. It is not the primary method. Use it on a restrained assembly, after steps one to four have actually been done.
Ratchet strap around the tread is the controlled alternative on softer sidewalls. Tighten until the bead contacts the flange, seat the bead, then release the strap before inflating to operating pressure.
Rotating or bouncing the assembly is a last resort. Only on a deflated wheel, only with the wheel restrained, and never instead of a dimension check.
Stop at the tire maker’s maximum seating pressure. If the bead has not climbed, go back to the dimension and damage checks. Do not keep blasting.
The pattern described in the public Garage Journal forum thread on stubborn beads is a poster working through most of the improvised options: machine mount, bead breaker and re-break, Cheetah seater used repeatedly, rotating the wheel, ratchet strap, soapy water and tire lube, valve core removed. Every one of those is reasonable on its own. None of it was ordered, and none of it tested whether the package was dimensionally correct.
Step sequence illustration of mounting a tire on a rim from flange inspection to a fully seated bead
The Safety Line: Pressure Limits, Restraint, and Why Starter Fluid Is Never a Method
Experience ends where the pressure limit begins. Draw that line in the shop policy, not in the technician’s judgement on a busy afternoon.
Know the maximum seating pressure the tire manufacturer publishes and never exceed the maximum marked on the sidewall. Reaching that limit without a seated bead is a stop signal, not a prompt to add another 20 psi because it feels close.
Inflate in a cage or with the assembly restrained and off the vehicle, with the operator out of the trajectory plane of the sidewall. Face-on is the wrong place to stand while a bead crosses a flange.
Flammable aerosols and starting fluid are never a workshop method. Igniting an ether-based spray inside a tire turns the tire into a pressure vessel holding burning fuel, and seating a bead is not a reason to put fuel in there. The poster in that Garage Journal thread lists starter fluid as a speculative last resort and never addresses what happens to the operator standing beside it.
Deflate to operating pressure as soon as the bead seats. A tire parked at seating pressure is an over-inflated tire waiting for a road to heat it.
Hands, chuck and arms clear of the bead area before the burst. Clip-on chuck, stand aside, never straddle or lean over the assembly.
Train the stop rule as policy. Write down what the limit is, who calls the stop, and what happens to the vehicle next, so the decision is not a negotiation with a customer at the counter.
Tire restrained inside a steel inflation cage in a tire workshop with a pressure gauge nearby
Bead Seater, Changer With a Helper Arm, or Inflator Cage: Which Tool Solves Which Failure
These get lumped together as one solution and they are not. Each addresses a different failure, and buying the wrong one is how a shop ends up with a blast tank bolted to the bench and the same low-profile wheel failing every week.
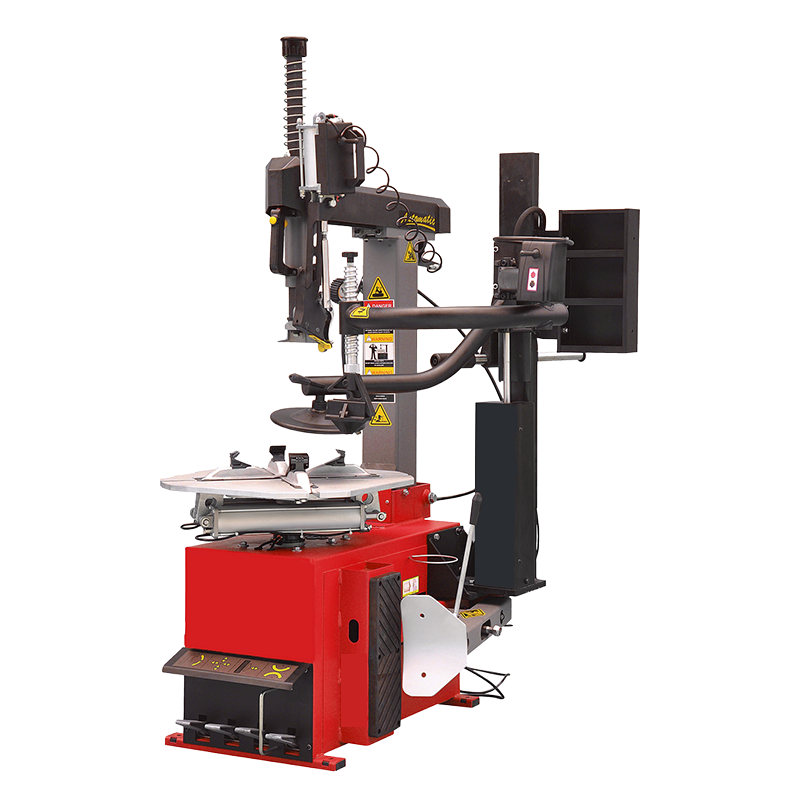
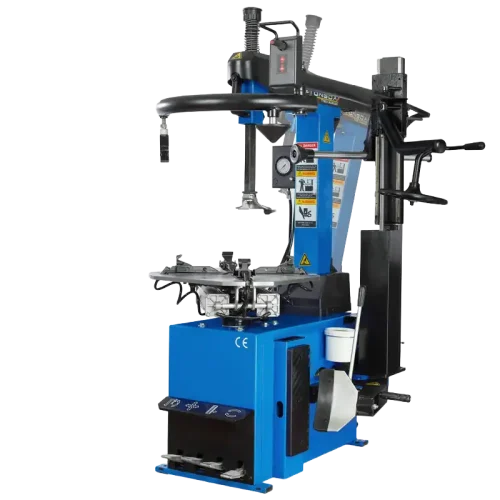
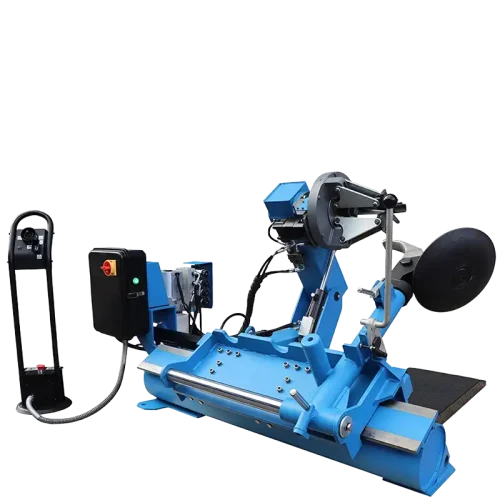
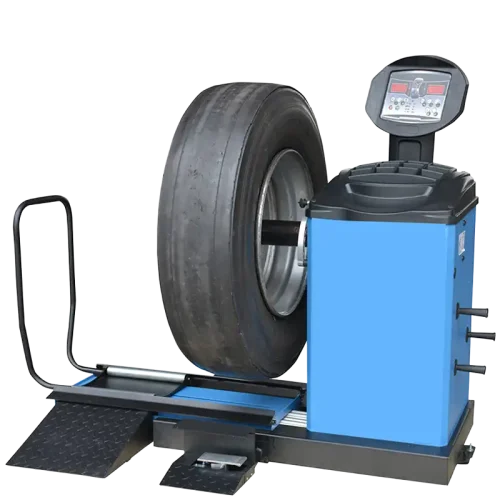
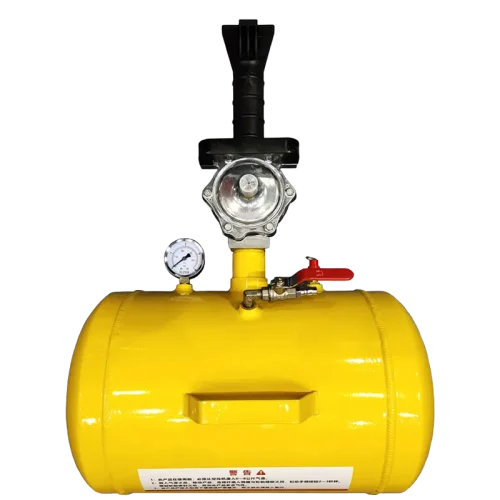
A bead seater or air-tank ring seater does exactly one thing: it closes the leak path long enough for the bead to climb. It does nothing for a dry bead, a wrong rim width or a damaged flange. A tire changer with a helper arm and bead presser prevents the problem instead of rescuing it, because the arm holds the bead in the drop centre while the presser keeps a stiff sidewall in contact with the flange. A pressure-limited inflator with a gauge and clip-on chuck is the safety layer, and it is what stops a technician free-flowing air into an assembly they cannot see the gauge on.
Strap or ring seater is a real decision too. The strap is cheap, slow and gentle on soft sidewalls. The ring seater is faster and more effective on low-profile packages, but it needs restraint and an operator who has been trained on it.
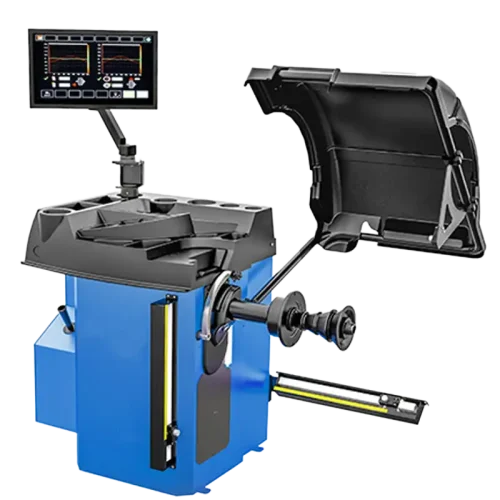
Match the machine to the work rather than the other way around. Car, heavy-duty and motorcycle changers have different clamping and bead-breaking geometry, and a heavy-duty changer is not the fix for a low-profile passenger wheel. Air supply is shop infrastructure, not an accessory: tank size, hose bore and a dedicated seating line change outcomes more than most spec-sheet differences. If you are building out a bay, the complete auto repair shop equipment list is a useful planning reference before you order.
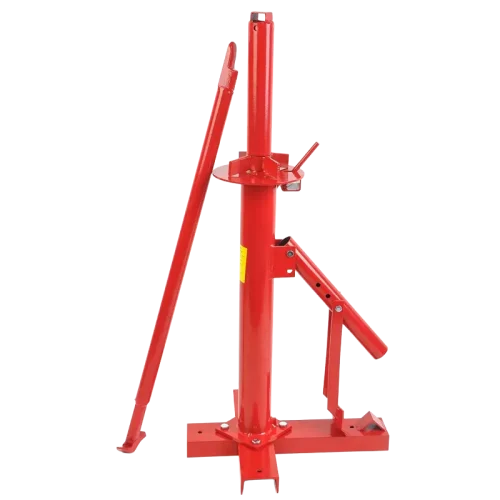
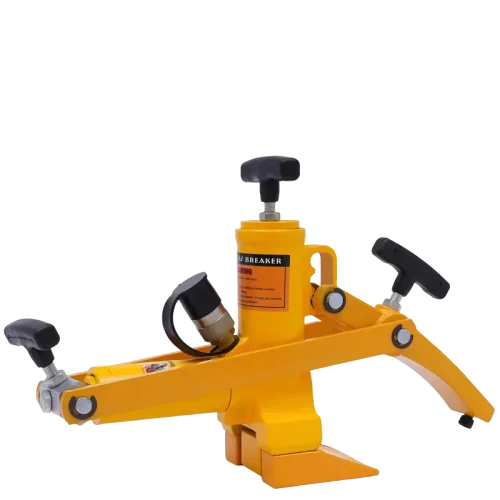
wsatools supplies tyre bead seaters, tyre inflators, tyre bead breakers, and car, heavy duty and motorcycle tyre changers as part of its workshop equipment catalogue, so a shop can build the whole line around one supply chain instead of sourcing the seater and the changer separately.
After the Pop: Verifying the Seat, Rebalancing, and Documenting a Refusal
The pop is not proof. Read the witness line before anything else: the moulded line near the bead should sit the same distance above the rim lip all the way around, on both sides. A line that disappears into the rim at one point means the bead is not seated there, and a tire in that condition will read fine on a gauge and still be wrong.
Rebalance after any job where the tire spun on the rim during the burst. Balance work done before seating is void if the tire moved relative to the wheel, which is why over-lubricated bursts cause vibration complaints that look like a balancer fault. If the seat looks correct and the complaint persists on a stiff low-profile package, read why tires still vibrate after balancing and move to a road-force or runout check rather than running the balance again.
Torque to the vehicle specification in sequence and write the figure down.
Then the part most shops skip: the written stop rule. Record what was tried, the measured rim width, the tire’s specified range, the maximum pressure reached and the decision taken. That record is what protects the shop when a customer later insists the tire should have been fitted anyway.
Say it plainly to the customer: the package does not match, and the safe options are a different tire or a different wheel, not more pressure. Say it before the job goes any further, not after.
If the recurring cause is equipment rather than technique, the fix is a proper bead seater, a changer with a helper arm and a pressure-limited inflator. wsatools supplies that range, with private-label and OEM options for distributors. Samples are available for most categories, with sample charges refundable once the bulk order reaches the agreed quantity, and branding, packaging and colour matching can be tailored to your market. Start with the wsatools catalogue or read more about how wsatools supplies workshops and distributors.
Frequently asked questions
What can I do if my tire bead isn’t popping?
Stop adding pressure and work the causes in order. Pull the valve core, fit a clip-on chuck and the shortest large-bore hose you have, then re-break both beads, clean the flanges and lubricate both beads evenly. If the bead still will not climb at the tire maker’s maximum seating pressure, measure the rim against the tire specification before trying anything else.
Yes. We provide OEM and ODM services, including logo printing, custom colors, packaging design, and product specification adjustments. Available options depend on the product type and order quantity.
What is your minimum order quantity (MOQ)?
MOQ requirements vary by product. Most standard products are available in flexible quantities, while customized branding, packaging, or product development may require a minimum order. Contact us with the product model and required quantity for confirmation.
Do you offer samples?
Samples or trial orders are available for most product categories. Sample charges and refund terms depend on the selected product and will be confirmed before ordering.
Which ports do you ship from?
We can arrange shipment from major ports in China, including Shanghai, Ningbo, Shenzhen, and Qingdao. The final port will be selected according to the product location and shipping arrangement.
Which trade terms do you support?
We support EXW, FOB, CIF, and other standard international trade terms. The available option will be confirmed in your quotation based on the order and destination.
Can you supply products beyond your catalog?
Yes. If you cannot find the required automotive tool or workshop equipment in our catalog, send us your specifications, target quantity, and application. Our team can help identify and source a suitable solution.