Brake Bleeding Methods Compared: Manual, Vacuum, and Pressure Bleeding
Pressure bleeding is the best default for a working shop: one technician, consistent flow and a repeatable result, as long as you have an adapter cap that seals that master cylinder and you follow the manual’s pressure figure. Vacuum bleeding is the practical choice for fast flush work on a single bay. Two-person pedal bleeding still works but costs you a second technician, and on any vehicle with ABS, stability control, an electronic park brake or electrified braking, no method at the calipers will remove air trapped in the hydraulic unit until a scan tool cycles the valves.
Key takeaways
Pressure bleeding needs one technician and holds a steady flow, but only if the adapter cap seals that specific master cylinder and pressure stays at the manual’s figure.
Air in the ABS hydraulic control unit does not come out at the calipers. It needs a scan-tool routine that cycles the pump and opens the valves, then a conventional corner bleed afterwards.
Never let the reservoir drop below the minimum line. That single lapse is the most common cause of a bleed that has to be restarted from the first corner.
Two-person pedal bleeding is the most expensive method in a multi-bay shop, because the second technician is tied up for the whole job rather than only the pumping.
On a hybrid or EV with regenerative blending, pedal feel is not proof of a successful bleed. Follow the manual’s procedure and its service mode.
Bleeding, Flushing, and Why the Pedal Goes Soft
Most brake jobs get invoiced as two operations that are really one procedure. A bleed removes air from the hydraulic circuit. A flush replaces the fluid inside it. When a car arrives with a long pedal and dark fluid, you do both in the same pass; splitting them across two visits burns a bay cycle and leaves the customer reading the estimate twice.
The physics is explainable at the counter. Brake fluid is effectively incompressible, so every millimetre of pedal travel displaces a predictable volume of fluid into the caliper. Air is not incompressible. A bubble anywhere in the circuit acts as a spring, so the pedal has to travel further before clamping force arrives. That is what a driver feels as a soft or long pedal.
Moisture is air’s slower twin
Glycol fluid is hygroscopic and takes on water through the reservoir and the seals. Water sitting in a caliper turns to vapour at braking temperatures and behaves exactly like air. This is why a system that felt fine in winter can feel long on the first hot day of summer, with no leak anywhere in the car.
Wet boiling point is the number that describes a working vehicle. Dry boiling point describes fluid in a sealed can. FMVSS 116 sets minimum dry and wet figures for each DOT grade, and those figures are a floor for new fluid, not a promise for fluid that has sat open in a hot shop. Quote the standard from a current copy rather than from memory.
DOT grades and the one that does not mix
DOT 3, DOT 4, DOT 4 LV and DOT 5.1 are all glycol-based and will physically mix. Mixing as a habit downrates the system to the weakest fluid in it. DOT 5 silicone mixes with none of them and is not specified for ABS-equipped vehicles. Read the reservoir cap and the service manual before topping anything up.
DOT 4 LV exists because low viscosity matters to ABS and stability control response at low temperature. A shop that wants one drum on the shelf should stock DOT 4 LV and confirm which regular models in its fleet mix call for something else.
Decide whether a bleed is actually due
Spongy or long pedal, or a pedal that sinks under constant pressure.
A fluid tester showing high moisture or copper content.
Any line, hose, caliper or master cylinder repair.
Pad and rotor work where a caliper was opened or a hose disconnected.
The manufacturer’s stated interval, which is a starting point rather than a rule.
A fluid tester beats a calendar. Two vehicles at identical mileage on different duty cycles will not carry the same moisture content, and one of them does not need the job yet.
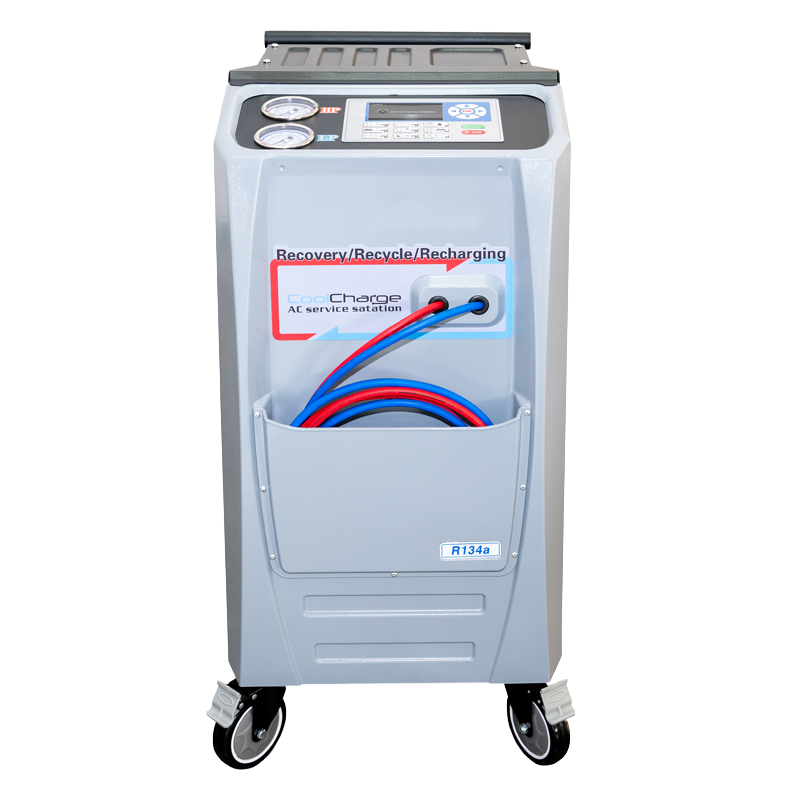
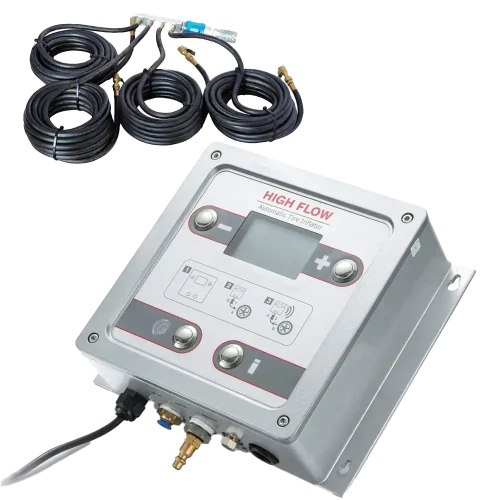
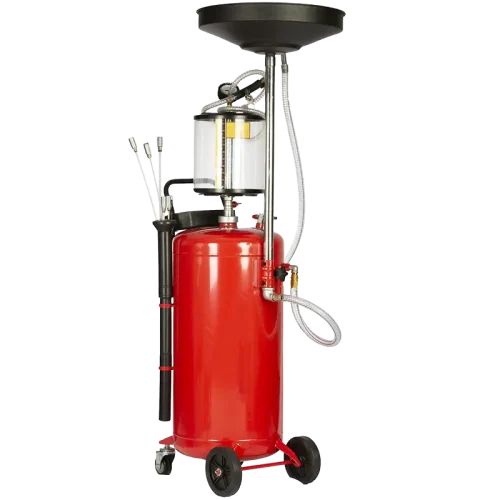
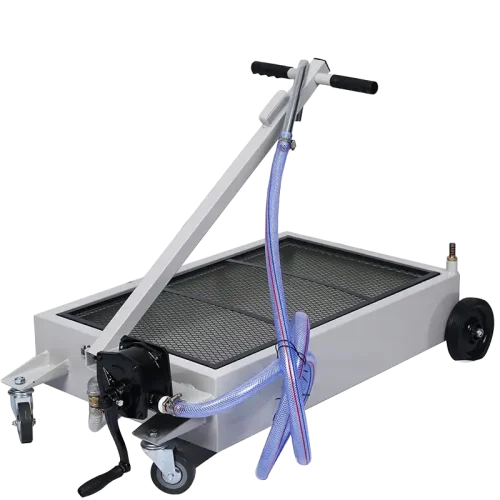
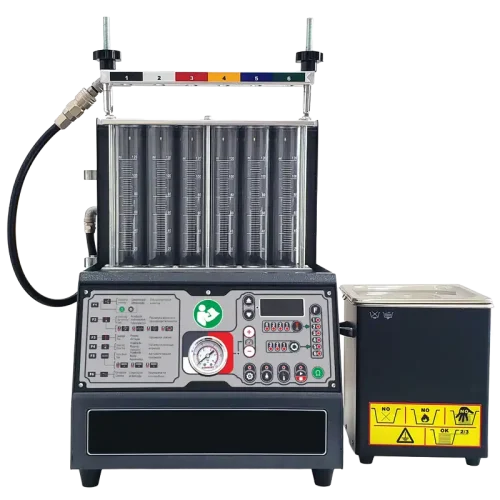
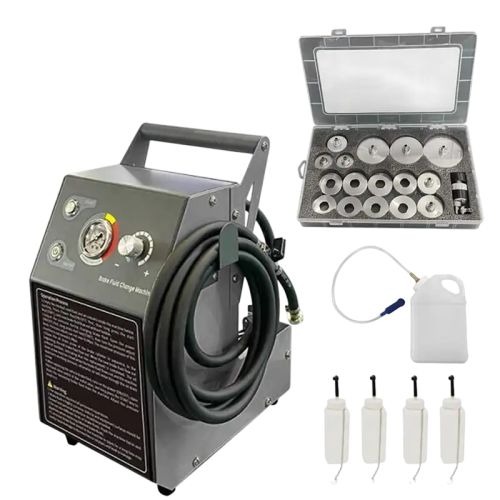
Confirm air is the fault before you open a bleeder screw. A failing master cylinder, a collapsed flexible hose and a seized caliper all produce a long or sinking pedal, and none of them improves with more bleeding. Shops that shorten that loop usually do it with equipment: Winsen’s automotive service equipment line includes brake fluid exchanger bleeders and pneumatic brake bleeders alongside oil drainers, A/C recovery charging machines and fuel injector machines, which keeps the whole fluid service routine on one cart.
What Is the Best Brake Bleeding Method? Match It to the Vehicle and the Job
Ask what the two methods of bleeding brake systems are and you get the textbook answer: pedal bleeding and pressure bleeding. Ask a technician and you get five: pedal, gravity, pressure, vacuum and reverse. Neither list is the useful one for a shop. Split them by where the work happens instead.
Three methods push fluid down from the master cylinder: pedal, pressure and gravity. Two act at the caliper: vacuum pulls fluid out, reverse bleeding pushes it back up. Once you see that split, the trade-offs stop being mysterious.
Pedal or pump-and-hold bleeding
Two people, a hose and a bottle. The hidden risk is full pedal travel: the master cylinder bore gets stroked through a section it never reaches in normal service, and on a high-mileage car the ridge and debris there can tear the cup seal. The pedal comes out worse than it went in, and nobody connects the leak to the bleed.
Vacuum bleeding
One person, fast flush, good for a single bay. Air can be drawn past the bleeder screw threads, so bubbles in the hose are not always coming from the circuit. Grease the threads or use a screw with a sealing feature, and judge the result by pedal feel and a second clean pull rather than by the first bubbles you see.
Pressure bleeding
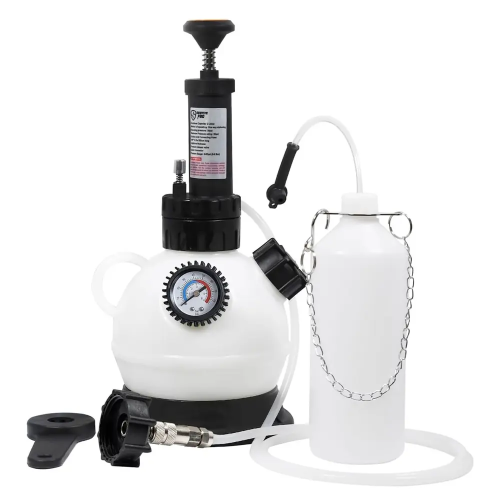
One person, consistent volume, easiest reservoir level control of any method. It lives or dies on the adapter cap sealing that specific master cylinder and on using the manual’s pressure figure. Too much pressure splits a plastic reservoir and turns a brake job into a parts order.
Reverse bleeding
Fluid is pushed from the caliper upward, which is the direction air naturally wants to travel, and it is the method that recovers trapped air from some ABS hydraulic units. It needs a dedicated tool and clean fluid, and it is unforgiving if nobody watches the reservoir.
Gravity bleeding
No pedal travel, no equipment beyond a hose and a bottle, hours per corner. Keep it as the fallback for a vehicle that cannot be run or one where nothing else fits. It is a legitimate method and a poor production method.
Criteria
Two-person pedal
Vacuum
Pressure
Reverse
Technicians needed
Two
One
One
One
Setup per vehicle
None
Low
Moderate
Moderate
Flow consistency
Inconsistent
Good
Excellent
Good
Air drawn past screw threads
Rare
Common
Rare
Rare
Reservoir level control
Poor
Poor
Easy
Poor
Master cylinder seal risk
High (full travel)
Low
Low
Low
Reaches air in ABS unit
✗
✗
✗
Sometimes
Best use in a shop
Fallback only
Fast flush, one bay
Routine default
Stubborn ABS air
Bleeding sequence comes from the circuit, not from habit
Furthest from the master cylinder first is the common rule and a decent default. Diagonal-split and front/rear-split systems differ, and some manuals specify a cross pattern that ignores distance entirely. The manual wins over the rule of thumb every time, particularly on vehicles where the rear circuit holds a proportioning or load-sensing valve.
Four brake bleeding setups compared on a workshop bench: pedal, vacuum, pressure and reverse
What Each Method Costs You in Technician Minutes
Two-person pedal bleeding looks free because the equipment is a hose and a bottle. In a multi-bay shop it is the most expensive method in the building. The bill is not the pumping. It is the second person being unavailable for the whole job: setup, four corners, the pedal check, the top-up and the cleanup. Multiply that across your bays and the cost shows up as throughput you did not have.
One-person methods are not automatically cheaper. Filling the tank, fitting the adapter, purging the hose and cleaning the unit at the end all sit inside the same job. What you actually buy is the second technician back on billable work, plus the ability to leave the system under pressure while you do something else.
Batching changes the arithmetic
A shop that sells brake fluid service as a scheduled line item can run two or three vehicles back to back and spread the bleeder’s fill and clean cycle across all of them. Ad hoc bleeding pays that overhead once per car, which is how the same tool looks expensive in one workshop and cheap in another.
Access is a lift question, not a bleeder question
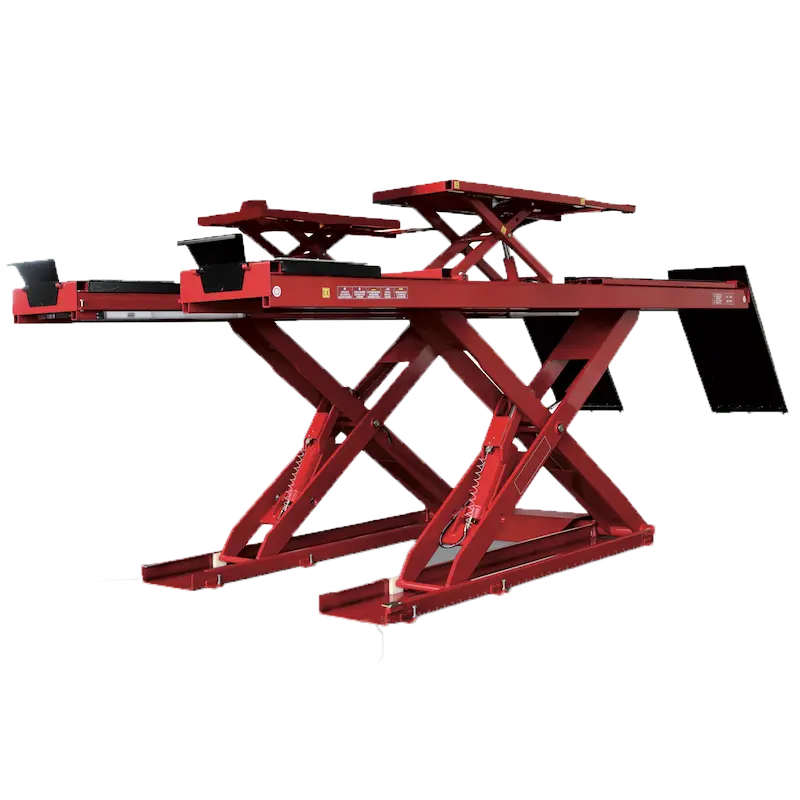
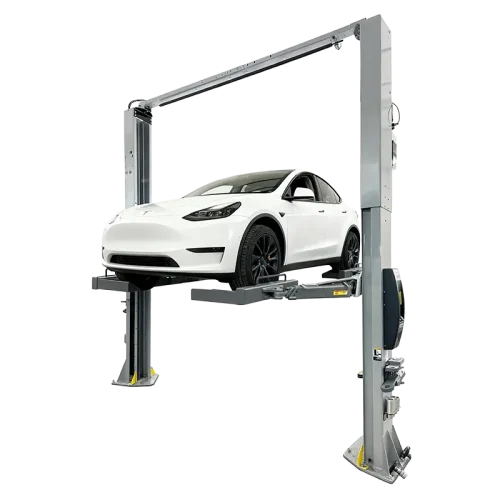
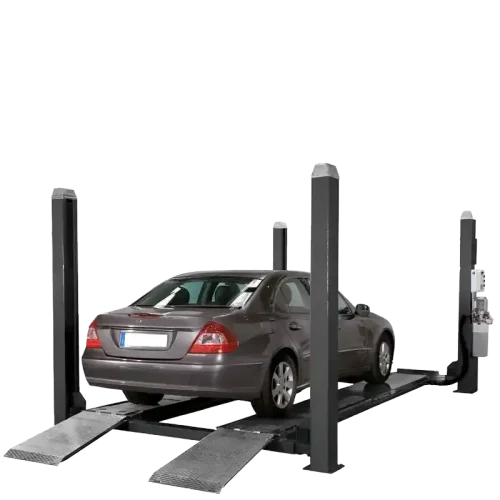
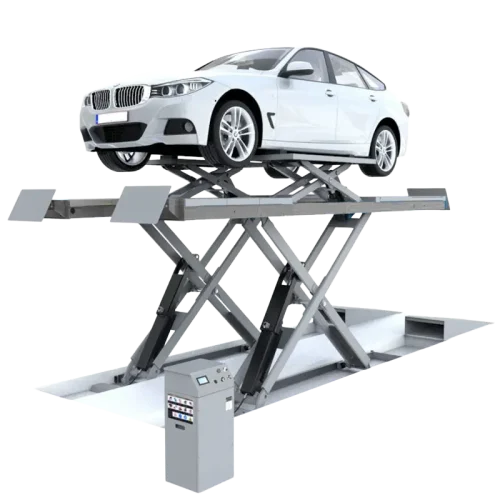
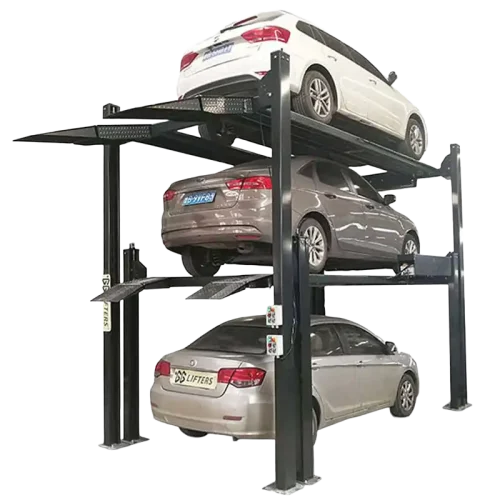
Four bleeder screws are easier to reach with the wheels hanging free. That favours a two-post or a scissor lift with a wheel-free kit over a drive-on four-post where the wheels stay loaded; if that decision is still open, this 2-post vs 4-post car lift comparison for workshops covers the trade-offs properly. Lifting equipment decides how long the bleed takes before the bleeder is even out of its case.
Do not quote a minutes-per-vehicle figure you cannot support. What drives the time is knowable: corner count, whether a scan-tool routine is required, whether the adapter cap fits that master cylinder, and how corroded the bleeder screws are. Get those four under control and labour time becomes predictable without inventing a number.
Then there is walking. A dedicated brake service station with the bleeder, catch bottle, flare nut wrenches, fluid stock, tester and waste container in one place removes the trips across the shop that quietly eat the margin on a small job. The complete auto repair shop equipment list for 2026 works as a checklist for building that station without duplicating kit you already own.
Brake service cart holding a pressure bleeder, wrenches, fluid bottles and labelled waste container
Do I Leave the Brake Reservoir Open When Bleeding? Sequence, Level and the Mistakes That Pull Air Back In
The question that decides most bleeds is not which tool you use. It is whether the reservoir stayed above the minimum line. Here is the sequence that holds.
Loose or covered, never absent for the whole job. The cap can stay off or loose, but fluid should not sit exposed to shop air and grit for an hour. Use a clean cap, a rag over the neck, or the bleeder adapter itself. Level matters; the lid is secondary.
Never let the reservoir fall below the minimum line. This is the single most common reason a bleed fails and has to be restarted, and it happens because the technician is under the car watching a hose instead of the reservoir. Check after every corner, not every axle.
Work from the furthest corner toward the closest. Push air into a line you have already bled and you start again, with fresh fluid you have to account for.
Press, hold, open, close, release. That is the pedal technique. Rapid pumping foams the fluid and puts air back into suspension, which is why some bleeds never clear no matter how much fluid goes through.
Close each screw to the manual’s torque with a six-point or flare nut wrench. A twelve-point open ender rounds a corroded screw and changes a bleed into an extraction.
Keep the catch hose tight on the screw and submerged in fluid. A hose that draws air back on the release stroke undoes the work you just did, and the bubbles look like a car fault.
How many times do you pump the brakes when bleeding?
There is no fixed count, and any article that hands you one is guessing. You pump until the fluid runs clear and bubble-free at that corner, then a few more strokes with the screw closed to confirm the pedal holds height. A full flush can consume most of a reservoir before that point, which is why the level check sits between every corner and not at the end.
Bench bleed a replacement master cylinder
Do it on the bench, before the cylinder goes on the car. Skip it and you push a trapped air pocket straight into the ABS hydraulic unit, where corner bleeding will never reach it. The car then leaves with a pedal that is soft for reasons the next technician will blame on the bleeder.
ABS, Stability Control and Hybrid Brakes: Where DIY Bleeding Quietly Fails
Air can sit in the ABS hydraulic control unit and its valves. Those valves are closed when the pump is not running, so pedal, vacuum and pressure bleeding at the corners will not move that air no matter how long you stand there. This is the answer to the most common shop mystery: a car bled correctly at all four wheels that still leaves with a long pedal.
The fix is a scan-tool-guided routine that cycles the pump and opens the valves in a set order, followed by a conventional bleed at the corners. The sequence differs by brand, and on some vehicles the routine has to run more than once before the pedal comes back.
Stability control and electronic park brake
ESP and EPB systems can require a service mode before the rear calipers will bleed at all, particularly where an EPB motor drives the piston. Without that mode the caliper may not retract far enough for the circuit to flow, and the technician reads a blocked caliper instead of a missing step.
Hybrid and electric vehicles
Electrified vehicles blend regenerative braking with friction brakes, and on many designs the pedal is a simulator rather than a direct hydraulic link. Pedal feel after a bleed is therefore not a reliable success indicator. Some systems must be placed in a service mode before the hydraulic circuit is opened at all, and improvising on them is how a shop creates faults it cannot clear.
Brake-by-wire and electro-hydraulic systems have their own specified procedures. A generic pump-and-hold routine is not a substitute for the manual.
The shop floor rule and the tool that makes it possible
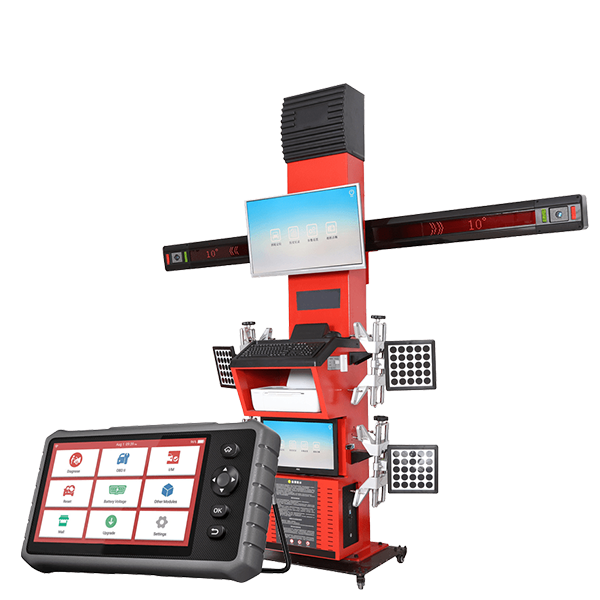
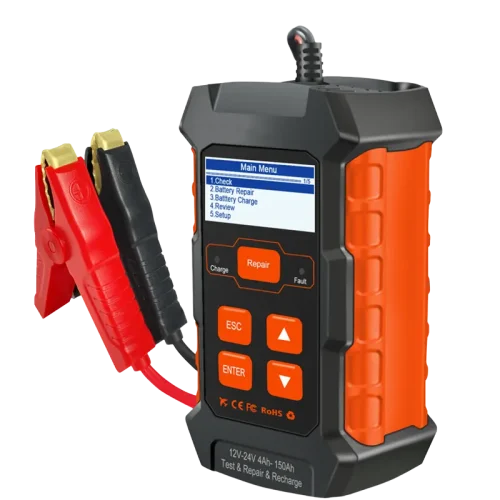
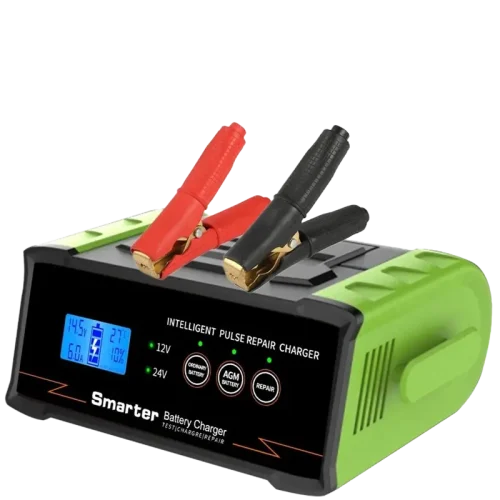
Anything with ABS, ESP, EPB or electrified braking gets the manual’s procedure and, where the manual says so, a scan tool. If you are still choosing that tool, this guide to choosing an automotive diagnostic scanner for your workshop covers the OBD2, professional and heavy-duty splits. Long routines draw on the vehicle battery, so keep a charger connected and avoid an abort mid-cycle with the valves in an unknown state; Winsen lists battery testers and battery chargers among its testing and diagnostic products for exactly that reason.
Teach the diagnostic order and stick to it: confirm the fault, check for air, check for a hydraulic fault, then check whether the system needs electronic actuation. Bleeding first and diagnosing second is the expensive way round.
Diagnostic scan tool connected to a car on a lift during an ABS brake bleed routine
Bleeder Screws, Wrenches and Fluid Handling: The Small Details That Decide the Job
Bleeder screws seize from the inside out. A screw that looks clean on the outside can be welded to the caliper by corrosion in the passage and behind the seat. Soak it, then use a six-point flare nut or box-end wrench on the full hex rather than an open ender.
A snapped screw changes the job completely. It stops being a bleed and becomes a caliper or wheel cylinder replacement. Replacing inexpensive bleeder screws during pad work is cheaper than extracting a sheared one on a Friday afternoon.
Torque to spec, not to feel. Over-tightening crushes the seat and creates a slow weep that reads like air in the system on the next visit, which sends everyone chasing a hydraulic fault that is really a wrench problem.
Fluid strips paint on contact. Route the hose into a bottle, keep water and rags within reach, and never let fluid sit on a painted inner wing, subframe or the workshop floor. A pressurised bleeder can throw a stream further than expected.
Eye protection and nitrile gloves. Glycol fluid is not benign on skin across a career, and a splash from a pressurised system reaches places a gravity drip does not.
Used fluid is a regulated waste stream in most jurisdictions. Store it in a closed, labelled container, keep it separate from coolant and waste oil unless your contractor says otherwise, and hand it to a licensed collector. Confirm current local requirements rather than trusting a figure from an article.
Never reuse fluid pulled out of a system. Contamination and moisture travel with it, and pouring it back into the reservoir contaminates everything downstream.
Maintaining a Pressure or Vacuum Bleeder So It Does Not Contaminate the Next Car
A one-person bleeder is shop equipment with wear items, not a plastic bottle that either works or does not. The failures are slow and they look like car faults.
Purge the bleeder before you connect it. A full pressure tank still has air in its hose, and that air goes into the master cylinder first if you do not run a little fluid into a rag or a bottle.
The adapter cap is the wear item. A cap that seals one master cylinder may not seal the next, and a leaking cap behaves exactly like a system that will not hold pressure. Keep a set, check the seal every job, and replace rather than shim.
Diaphragm and seal wear is the slow failure. A tired diaphragm lets fluid into the air chamber or lets pressure creep down mid-job. The symptom is a bleed that suddenly needs redoing, on a car that did nothing wrong.
Cross-contamination is a multi-brand shop problem. Fluid left in the tank from last month is not fresh fluid, and DOT 4 residue going into a DOT 4 LV system is a real risk. Empty, clean and dry the tank when you change fluid types, and label what is in it.
Vacuum units have their own wear points: the hose, the catch jar seal and the pump or venturi filter. Weak vacuum pulls fluid slowly and encourages air past the bleeder threads, which sends the technician chasing a problem that is not in the car.
Set pressure to the manual’s figure and check the regulator. A creeping regulator is a reservoir waiting to split, and plastic master cylinder reservoirs do split.
Store the unit dry with the cap off to limit condensation, and keep it off the floor where it collects grit that ends up in a brake circuit.
Which Method Should Your Shop Standardise On? A Decision Table for the Buying Conversation
Default to pressure bleeding for routine service on conventional hydraulic systems, with a scan-tool routine added for anything carrying ABS, ESP, EPB or electrified braking. Keep a vacuum or pneumatic bleeder for flush work, single-bay jobs and vehicles where no adapter cap is available for that master cylinder. The adapter range, not the pump, is what decides whether pressure bleeding is usable across your fleet mix.
Gravity and two-person pedal bleeding stay on the list as fallbacks. They are legitimate methods. They are not the method a shop should plan its brake service around.
Situation
Recommended method
Scan tool
Equipment that supports it
Conventional hydraulic brakes, routine service
Pressure bleeding
No
Pressure bleeder plus adapter cap
ABS or ESP vehicle after a hydraulic part replacement
Scan-tool routine, then corner bleed
Yes
Pressure bleeder plus diagnostic scanner
Vehicle with electronic park brake
Service mode, then pressure bleed
Yes
Scanner with EPB service function
Hybrid or EV with regenerative blending
Manual procedure, then scan routine
Yes
Scanner plus pressure bleeder; pedal feel is not proof
Full fluid flush, no fault present
Pressure or vacuum
No
Brake fluid exchanger bleeder
Roadside or mobile call, no power available
Gravity or two-person pedal
No
Hose, bottle, correct wrench
What to specify before you buy
Write these down before you talk to a supplier: reservoir capacity against the number of corners you typically bleed, the adapter caps for the makes you actually service, diaphragm versus non-diaphragm tank, whether the unit doubles as a fluid exchanger, and how waste fluid is emptied and stored. Then test the adapter on the master cylinders sitting in your bays, because that is the part that decides whether the method works at all.
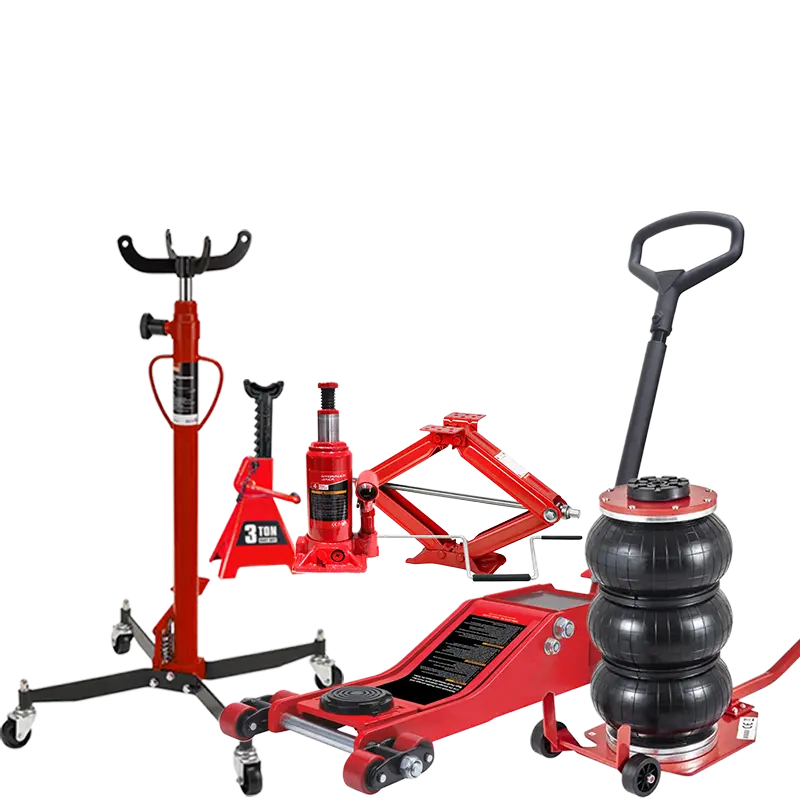
Winsen supplies brake fluid exchanger bleeders and pneumatic brake bleeders within its automotive service equipment line, alongside lifts, jacks and workshop equipment, and supplies wholesalers, garage equipment installers, e-commerce sellers and professional tool dealers in more than 30 countries. The same buying logic applies to the rest of your fluid service equipment; if A/C work is next on your list, start with this comparison of car A/C machines and their recovery, recharge and recycle functions. Winsen also offers OEM and ODM branding, packaging and product portfolios tailored to the buyer’s market, and samples can be provided for most categories with sample charges refundable when the bulk order reaches the agreed quantity.
If you are standardising brake service across several bays, ask for the current brake fluid exchanger and pneumatic bleeder specifications, and confirm which adapter caps and reservoir sizes are available for your market before you commit the whole shop to one method.
Brake bleeding method decision chart on a workshop desk beside bleeder equipment
Frequently asked questions
Can you bleed brakes with the engine running?
No, and there is no benefit. The hydraulic circuit is bled with the engine off, so a running engine only adds noise and heat to the job. On hybrids and EVs follow the manual instead, because many need a service mode before the hydraulic circuit is opened and some must be depressurised before any work at the calipers.
How much brake fluid does a brake flush use?
It depends on circuit volume, reservoir size and how dark the old fluid is, so no single figure is honest. Buy more than the job looks like it needs, since lines, calipers and the ABS unit hold fluid that only comes out once clean fluid reaches each corner. Stop when every bleeder runs clear.
Why is my brake pedal still soft after bleeding?
Three causes dominate. Air may still be trapped in the ABS hydraulic unit, which only a scan-tool bleed routine reaches. The master cylinder, a flexible hose or a seized caliper may be the real fault. Or the bleed drew air back in through a loose catch hose or a reservoir that dropped below the minimum line.
Yes. We provide OEM and ODM services, including logo printing, custom colors, packaging design, and product specification adjustments. Available options depend on the product type and order quantity.
What is your minimum order quantity (MOQ)?
MOQ requirements vary by product. Most standard products are available in flexible quantities, while customized branding, packaging, or product development may require a minimum order. Contact us with the product model and required quantity for confirmation.
Do you offer samples?
Samples or trial orders are available for most product categories. Sample charges and refund terms depend on the selected product and will be confirmed before ordering.
Which ports do you ship from?
We can arrange shipment from major ports in China, including Shanghai, Ningbo, Shenzhen, and Qingdao. The final port will be selected according to the product location and shipping arrangement.
Which trade terms do you support?
We support EXW, FOB, CIF, and other standard international trade terms. The available option will be confirmed in your quotation based on the order and destination.
Can you supply products beyond your catalog?
Yes. If you cannot find the required automotive tool or workshop equipment in our catalog, send us your specifications, target quantity, and application. Our team can help identify and source a suitable solution.